The Internet of Things (IoT) niche is hotter than ever, with more people replacing everyday home items with smarter variants. These devices allow more control and deliver greater insights into everyday usage. Google Home and Amazon Alexa were once the main options for people looking to automate their homes, but Apple has since joined the fray with HomeKit.
To automate your home with HomeKit, here are the steps to follow:
- Buy HomeKit compatible smart devices.
- Setup and pair the devices with the Home app.
- Start controlling the devices wirelessly or remotely.
In this article, you’ll learn the process of automating your home with HomeKit. You’ll also get suggestions on HomeKit device categories you should look at when automating your home.
What Is HomeKit?
HomeKit is a software protocol designed to make smart home devices work with Apple products like the iWatch, iPad, iPhone, and Apple TV. It was first announced in 2014 as a part of iOS 8.
It allows you to automate all your smart home gear with triggers, actions, rooms, and scenes. When properly set up, you can simplify many daily processes. Simple automation like setting your front door to lock/unlock automatically at specified times, and setting your lights to turn off or come on at a specific time, can save you time, energy, and money in utility bills.
Below are the steps to automating your home with HomeKit:
1. Buy HomeKit Compatible Smart Devices
The first step to automating your home with HomeKit is to get compatible accessories. We’ve come a long way in the Internet of Things (IoT) world, so there are tons of compatible products you can choose from at this point. Below are some categories you can start with:
Smart Lighting
You can buy HomeKit compatible light bulbs to simplify the lighting situation around your home. There are plenty of sizes and styles of light bulbs to choose from, including flood light bulbs, filament light bulbs, GU10 light bulbs, candelabra lights, and so on.
However, you don’t need to throw out all your current light bulbs when automating your home. You can install smart bulb sockets instead.
For homes with many light bulbs controlled by a few switches, you can save more money by replacing the light switches instead. Smart switches are easy to install if you have the right tools (mostly screwdrivers).
Other smart lighting fixtures you can install include light panels, light strips, nightlights, and lamps.

Smart Security Systems
Having a better handle on home security is one of the main reasons why more people are adopting home automation. With the right HomeKit certified accessories, you can improve your home security and simplify its management.
HomeKit certified door locks ensure you never have to worry about forgetting to lock your front door again. They come with auto-locking controls, and you can use your Home app or Siri voice commands to lock or unlock the doors from your bed or couch. The locks are also designed to give you instant alerts when your door is unlocked, and some of them can show you lock/unlock logs.
Smart garage door openers also work similarly. They’re designed to remind you to close the door after a specific amount of time has elapsed, and you also get logs of locks and unlocks. The convenience of these locks means you no longer have to come down from your car to open or close the locks.
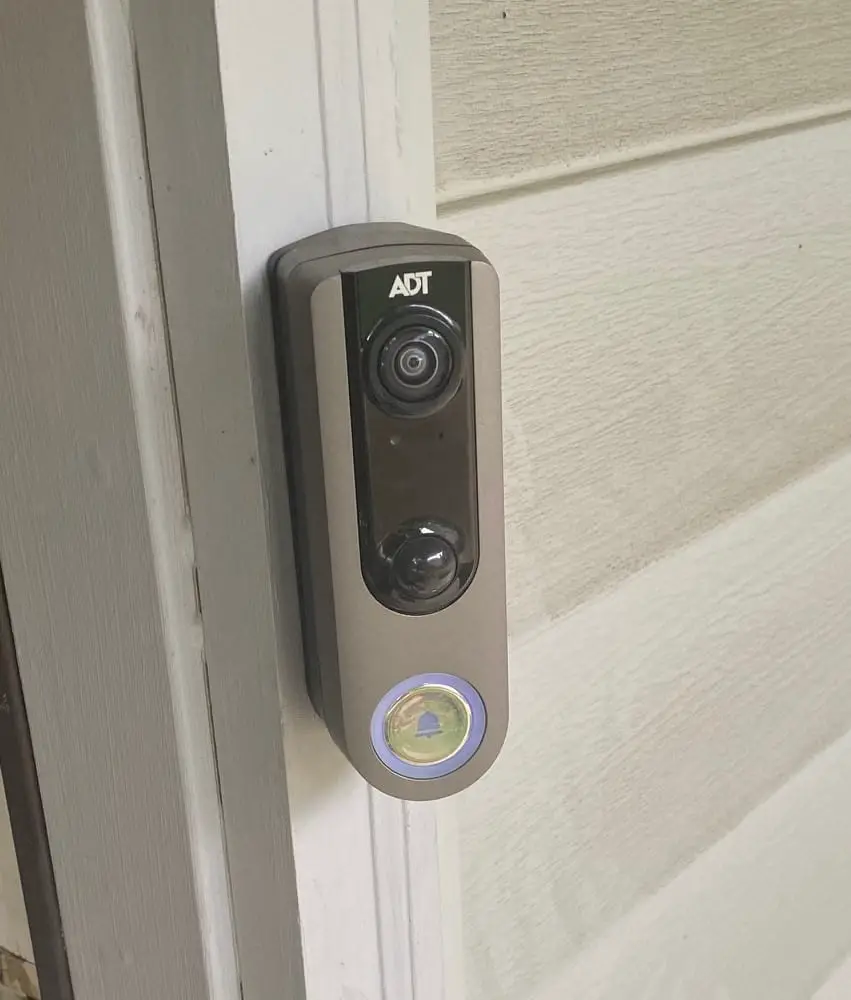
Smart video doorbells and cameras also feature extensively in most automated homes. The top HomeKit cameras work with Apple’s Secure Video feature, allowing you to store up to 10 days of recording in your iCloud setup. The feature also has important additions like intelligent filters, facial recognition, etc., to ensure you don’t get unnecessary alerts.
Home Sensors
There are tons of HomeKit compatible sensors that can come in handy in any automated home. For example, you can install sensors on doors and windows and connect them to your lighting. Such a setup serves the dual purpose of automatically triggering the lights when you come home and warding off intruders. The setup may also require you to install a motion detector.
You can also install smoke and water leak sensors in your home, so you’ll get instant warnings about possible fires or flooding. Such an installation keeps your home safe and ensures you can act quickly to prevent widespread damage—even when you’re far away from home.
You should also consider getting sensors that can help improve the environment in your home. Air quality sensors can give you regular insights into your home’s oxygen quality. Temperature and humidity sensors can also come in handy here.
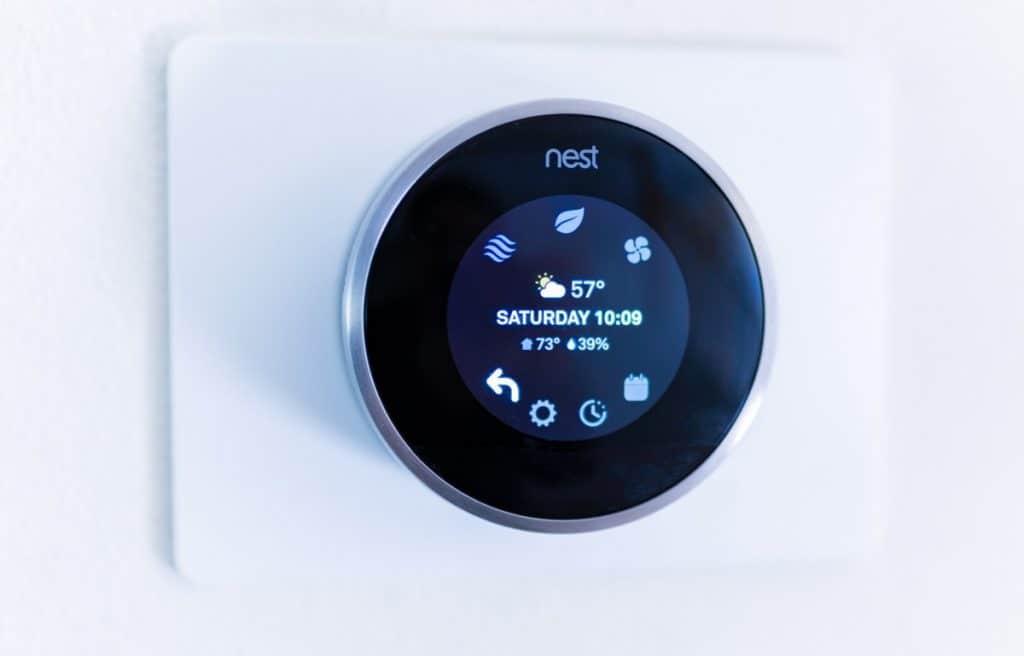
Climate Control Systems
A smart thermostat is the first device you should consider in this category. It allows you to seamlessly manage the temperature in your home. You can automate the “switch-on” time for your HVAC units or just control them from wherever you may be.
If you don’t have a central HVAC setup in your home, you can choose to go with smart AC units, ceiling fans, and smart portable heaters. They also allow custom scheduling and remote access.
Smart blinds look like a gimmick no one needs, but they play a role when it comes to controlling the climate in your home. Smart blinds help keep out the sun during the day. You can automate the opening or closing to coincide with when the sun comes up or when it’s time for movies.
Entertainment Systems
Your home automation isn’t complete without incorporating your entertainment system. From speakers to TVs, there’s no shortage of HomeKit compatible entertainment systems. Options like Apple’s HomePod and HomePod mini work with HomeKit automation, allowing you to set your music system to start playing a specific tune at predetermined intervals.
So, if you want to come from a dinner date to a romantic tune, automation makes it possible.
HomeKit compatible TVs put the controls in the Home app, allowing you to access all the necessary functions on your smartphone.
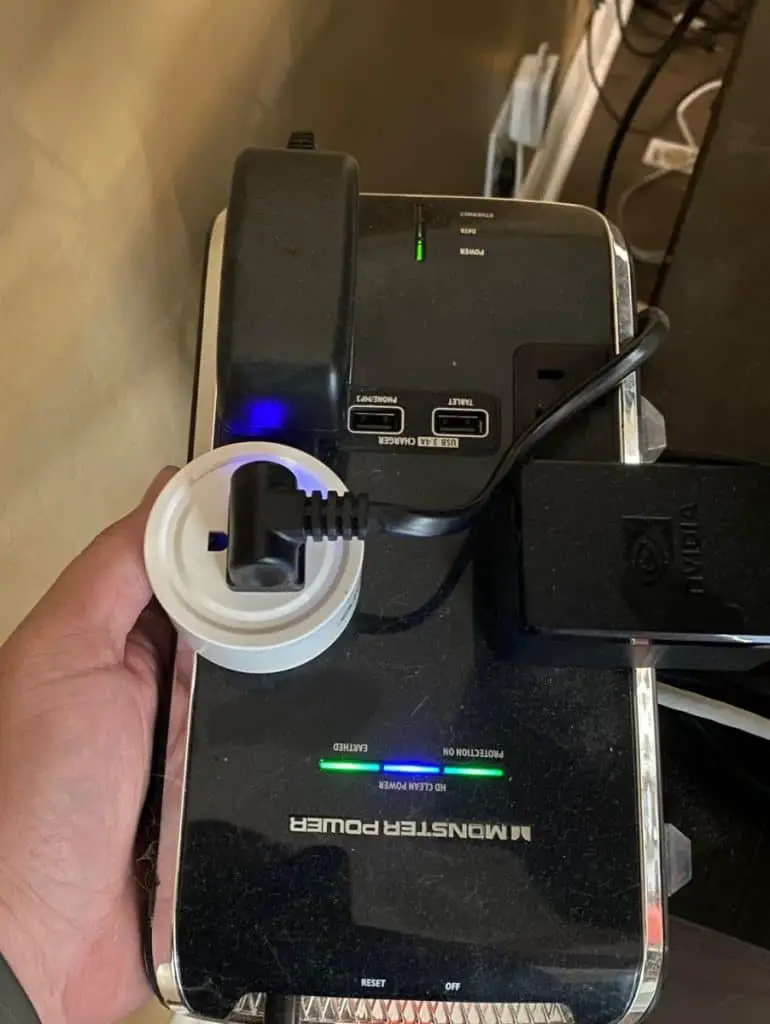
Smart Plugs and Buttons
Smart plugs play an integral role in home automation. They make it easier for you to control non-smart devices instead of replacing them. From standing fans and toasters to coffee makers and electric cookers, you can use smart plugs to ensure remote control ability.
If you love the feel of touching a physical button, you can buy some HomeKit compatible options and mount them anywhere you want around the home—with functions programmed from inside the Home app.
Outdoor Devices
Smart sprinklers allow you to water your garden/lawn remotely or to create a daily or weekly schedule for the process. You can also use outdoor plugs to keep your gardening tools charged or trigger your home decorations after the sun goes down.
2. Setup and Pair the Devices With the Home App
Once you’ve selected your preferred accessories, the next step is to set them up and pair them in your HomeKit Home app on iOS or iPadOS. Once on the app, you can add a device by choosing the “Add Accessory” option and scanning the HomeKit pairing code on the device with your camera.
During the pairing process, you’ll have to provide a name and room for each device.
Of course, you can go with the default name, but it’s easier to give voice commands to a light bulb named “Bedroom Light 1” compared to one named “Ring PAR3816709 LED.”
Some smart devices may require you to download an app before you add it to HomeKit. That’s usually the case when the device doesn’t have a pairing code on it or inside the box.
Some accessories, like smart locks, may require you to download an app before adding it to HomeKit. If your accessory supports HomeKit but doesn’t have a pairing code, you will need to go this route.
However, setting up and installing a smart device in the Home app is usually very easy. Most manufacturers include a simple guide (which you most likely won’t need), but it’s there if you need extra help.
You can expect to complete the setup and pairing of a smart bulb in under a couple of minutes (barring any unforeseen circumstances). So, you can realistically expect to complete your home automation in under a day, even if you pick up devices from all of the categories mentioned above.
3. Start Controlling the Devices Wirelessly or Remotely
The best part about automating your home with HomeKit is that you can control all your devices in one place. The Home app on your iPhone gives you full control of all connected smart devices, allowing you to run your home from just one interface.
From turning on lights to cranking up the heating, you only need one or two taps in most cases. Long-presses bring up the advanced settings for the specific device.
If you want to take your newfound “Inspector Gadgets” persona up a level, you can access the Home app on your Apple Watch. Some of the controls will feel a bit different on the Apple Watch, but you should get the hang of it in a few minutes.
The Home app on the iPad and Mac both look similar to what you have on the iOS app. However, on the Mac, you’ll need to right-click a lot to access certain controls and settings.
If you’re already conversant with using Siri for basic stuff, you can significantly reduce the number of times you open the Home app using voice commands. All the basic commands apply, but you can also try new commands.
Scenes and Automation
You can’t discuss controlling smart devices in HomeKit without discussing Scenes and Automations. HomeKit Scenes are groups of actions combined into one. They allow you to activate a chain reaction involving multiple devices.
So, a “Movie Nights” scene allows you to automatically dim the lights, switch your TV Netflix, close the blinds, and turn off the living room lights—all in one click. Even better, you can give a command to Siri to activate it.
Automation in HomeKit is exactly as it sounds. You can set your outdoor lights to come on or go off at the same time every day or to trigger the lights on the front porch as soon as someone walks close enough to the door.
How To Enjoy Remote Access
Controlling all your devices and keeping an eye on everything from your bedroom is cool, but that’s half the fun. An integral part of home automation is the ability to control your devices remotely. How can you achieve that?
Most smart devices work on protocols like Thread, Bluetooth, or Wi-Fi connectivity. So, you’ll lose access to most of them when you leave the house.
To enjoy remote access, you’ll need to get the HomeKit hub. The hub is the connecting point for all the devices, relaying all commands you send from your iPhone or iPad to the various devices—even when you’re two continents away.
Unlike other home automation systems that have a dedicated hub, you can use an iPad, HomePod, or Apple TV running the latest OS as your hub. This bit can get complicated, so here’s an in-depth guide on it.
Possible Problems When Automating Your Home With HomeKit
Automating your home with HomeKit should be seamless, but a few things can go wrong:
Connection Issues
If you can’t get your devices to connect, make sure your internet is working properly. Then check to confirm that you’ve got the latest version of iOS installed on all of your devices. You also have to sign in to iCloud on the required devices for the process to work.
“No Response” Messages
These messages are common with smaller devices like smart plugs and buttons, but you may also experience it with other devices. Unfortunately, there’s no hard and fast rule to dealing with this one.
You’ll have to try a combination of things, including:
- Turning off the device Bluetooth or Wi-Fi
- Adding a HomeKit hub (if the problem only happens when you’re far away)
- Rebooting the devices
- Resetting the device (as a last resort).
Final Words
HomeKit is the perfect home automation solution if you’re already deep into the Apple ecosystem. There are tons of devices to choose from, and completing the setup is a DIY project.
However, you can hand over the process to professionals and save time and energy if you intend to automate a whole bunch of devices around your home.