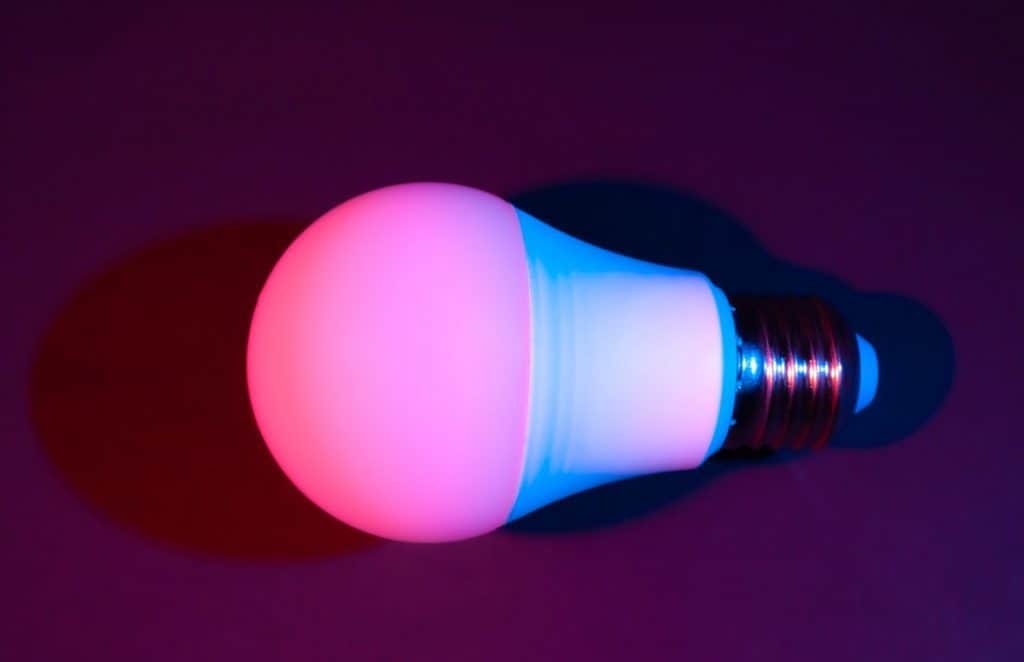
When you change your internet service provider, your smart bulb won’t automatically switch to the new Wi-Fi network. You’ll need to do that manually, which can be a bit tricky even for the tech-savvy.
Here’s how you can change the Wi-Fi network on a smart bulb:
- Make sure you understand the problem.
- Reset the bulb.
- Change your Wi-Fi frequency band to 2.4GHz.
- Connect your mobile device to the new Wi-Fi network.
- Change the Wi-Fi network in the Smart Bulb’s companion app.
- Enter the Wi-Fi network info and tap next.
Read on for an insightful discussion as I explore why your smart bulb won’t automatically connect to your new Wi-Fi network and how to fix the issue manually. I’ll also provide an alternative approach to the issue later on, so be sure to stick around to the end.

1. Make Sure You Understand the Problem
The best way to approach home automation problems is to identify what’s causing the issue before exploring possible solutions. That goes for smart bulbs, too, so let’s take it from the top.
Most commonly, the need to add a different Wi-Fi network to a smart bulb arises when people move to a new place or switch to a different Wi-Fi router. In both cases, the Service Set Identifier (SSID)一AKA, the Wi-Fi name一and the login credentials change.
However, that change isn’t automatically updated on the smart bulb’s configuration, even after connecting your phone to the new Wi-Fi network. The bulb still “thinks” it’s connected to the previous Wi-Fi network and is thus relying on that network to send/receive signals to/from your smartphone.
So what’s happening now is that you have a smart bulb trying to send/receive signals to/from a mobile device on a different Wi-Fi network, which is impossible. You need to ensure that both are communicating through the same Wi-Fi connection, which brings us to the next part of our discussion.
2. Reset the Bulb
Typically, you need to reset all smart products’ connections whenever you buy a new router or make amendments to an existing router. So before you proceed to change the Wi-Fi network, you’ll need to reset the bulb first.
Here’s how to do that:
- Switch on the bulb for about three to five seconds, and then switch it off for the same amount of time.
- Repeat step 1 above about three times.
- Switch on the bulb and see if it blinks. If so, you’ve successfully reset the bulb.
3. Change Your Wi-Fi Frequency Band to 2.4GHz
The wrong Wi-Fi network frequency band can prevent your smart bulb from connecting. Wi-Fi frequency bands can either be 2.4 GHz and 5 GHz. There are several differences between the two. But to keep things simple, let’s focus on the speed and range differences because that’s probably what you’re interested in.
Here’s how the two frequency bands compare:
- The 2.4 GHz frequency provides a broader range of coverage than its 5 GHz counterpart. It’s also better at transmitting signals through walls and other solid objects. However, it’s slower than the 5GHz frequency.
- The 5 GHz frequency makes up for its shorter coverage by being much faster than its 2.4GHz counterpart. On the flip side, it’s more susceptible to interference by walls, doors, and other structural components of your home.
I recommend sticking to the 2.4 GHz frequency for two reasons:
- The broader range of coverage is better suited to home automation. This is particularly true if you’re looking to install smart lights indoors and outdoors. There’s no use in having all the extra speed if you can’t control your driveway lights due to the 5 GHz limited range.
- Compatibility. Most of the smart bulbs you’ll find on the market are only compatible with the 2.4GHz frequency. Some bulbs support both frequencies, but you’ll still want to set your Wi-Fi to the lower frequency, especially if you’ve automated more than just light bulbs. Many smart devices such as TVs and door openers are 2.4GHz-only, especially those designed before 2009.
To set your Wi-Fi to 2.4GHz, follow these steps:
- Go to your router’s configuration page. All routers come with an IP address that you can key into your browser’s address bar to access the configuration page. Most routers use either of these two universal IP addresses: 192.168.0.1 or 192.196.1.1. Try both to see what works with your router.
- Enter your login info. Once you type in one of these two IP addresses and hit enter, a box will pop up requesting your username and password. You’ll find this info somewhere on your router, indicated on a sticker.
- On the configuration page, go to “Advanced settings” > “Wireless” > “Wireless signal.”
- Select 2.4GHz as your frequency and confirm your changes.
A quick tip: If you can’t find your login info in step 2 above, enter the username as “admin” and either leave the password box blank or enter “admin” as your password. If that doesn’t work, visit SetupRouter.com. This site has a resource that you can use to recover lost/forgotten router login info.
4. Connect Your Mobile Device to the New Wi-Fi Network
This could be your phone, tablet, or any other mobile device you plan on using to control the smart bulb. Your mobile device’s specs matter here.
If you’re using an android device, ensure it’s running Android™ 4.1× or higher. And if it’s an iPhone or iPad, make sure it’s running on iOS® 8 or higher.
Connecting your phone to the new Wi-Fi network is pretty straightforward, so I don’t see any need to go into that.
5. Change the Wi-Fi Network in the Smart Bulb’s Companion App
With your bulb reset, Wi-Fi network frequency set right, and phone connected to the network, it’s time to connect your smart bulb to the new Wi-Fi.
To do that, open the app and follow this sequence:
- Tap “Add Device” or the “+“ sign on your screen’s top right.
- Select “Lighting”.
- Go to the “Lighting (Wi-Fi)” option.
- Enter your new Wi-Fi network details and select next to complete the process.
6. Enter the Wi-Fi Network Info and Tap Next
Entering your new Wi-Fi network’s name and password in the companion app is the last step in changing the Wi-Fi network on a smart bulb. Once this is taken care of:
- Tap next and follow the in-app instructions to finalize the set up process.
- Configure your bulb in the app as you first did when you purchased it to set your preferred light automations.
This Looks Complicated, So Is There Another Way?
If you change your internet service provider and don’t want to manually add the new network to your smart bulb, change the name and password of your new Wi-Fi network to match those of your previous network.
To your bulb, it doesn’t matter whether you’ve changed your internet service provider. What matters are the name and password of the Wi-Fi network. As long as these don’t change, it’ll connect to the new Wi-Fi without any hiccups.
Final Thoughts
There you have it; two ways to make your smart bulb will work with your new Wi-Fi network. If you choose the latter route, be sure to change the Wi-Fi name and password before you power on the smart bulb. And if things get complicated, check the bulb’s user manual. Alternatively, get in touch with customer support. All the best!