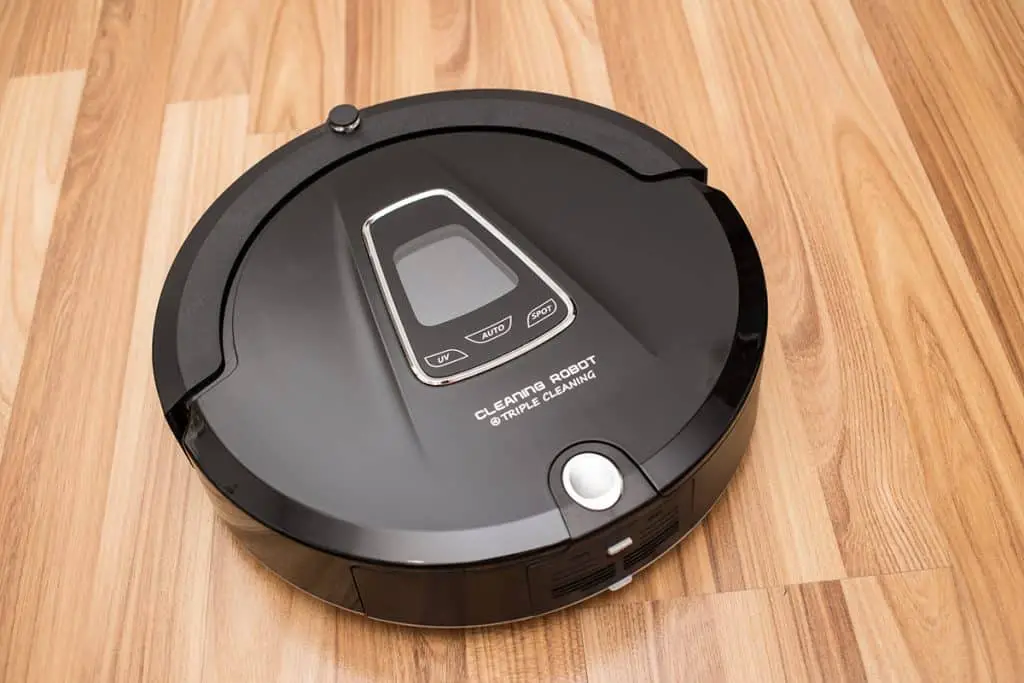
Roombas can be great timesavers and are handy if you’re trying to keep your house clean, especially in hard-to-reach areas. But sometimes, your Roomba may not perform as well as you’d like. Fortunately, there are ways to improve your Roomba’s performance.
Here are 9 simple ways to improve Roomba performance:
- Observe a full clean and remove obstacles.
- Do an initial spot clean.
- Check light levels and light sensors.
- Regularly clean out the Roomba’s dust bin and roller.
- Use zoning.
- Improve battery conservation.
- Plan the location of the base station.
- Set the internal Roomba clock.
- Perform a factory reset.
This article will explore all of the handy tips and tricks mentioned above so that you can learn everything you need to know about getting the most out of your Roomba.
1. Observe a Full Clean and Remove Obstacles
Although technology has come a long way, Roombas are not necessarily going to clean your house perfectly the first time, so it’s worth watching the Roomba the first few times you run it.
You can’t just expect the Roomba to thoroughly or adequately clean the unique layout of your house without needing a few tweaks.
Robot vacuums like the Roomba rely on a combination of sensors, software, and other technologies to perform their role.
It may be that certain corners or furniture location always causes interference with the Roomba. Depending on the model, it may have more advanced features that enable it to remember and thus avoid these traps, but not all Roombas can do this.
For example, the iRobot Roomba i7+ (from Amazon.com) has both automatic dirt disposal and smart mapping. This latter feature keeps it from getting stuck and remembers the areas around your house that can be hard to get out of after cleaning.
If your Roomba does not have smart mapping, all you need to do is observe the vacuum while it does its cleaning cycle and see what areas it struggles with. If there are curtain strings or rug tassels that interfere with the vacuum, be sure to tuck these away before beginning the next cleaning cycle.
You may have to move some furniture so that it blocks a narrow passage the Roomba gets stuck in, or use a piece of wood to block specific areas to stop the Roomba from getting in there in the first place.
2. Do an Initial Spot Clean
Some of the common obstacles for a Roomba include shoelaces, toys, clothing, and other small or loose objects. Do a quick clean to remove these and make your Roomba more effective and efficient at cleaning.
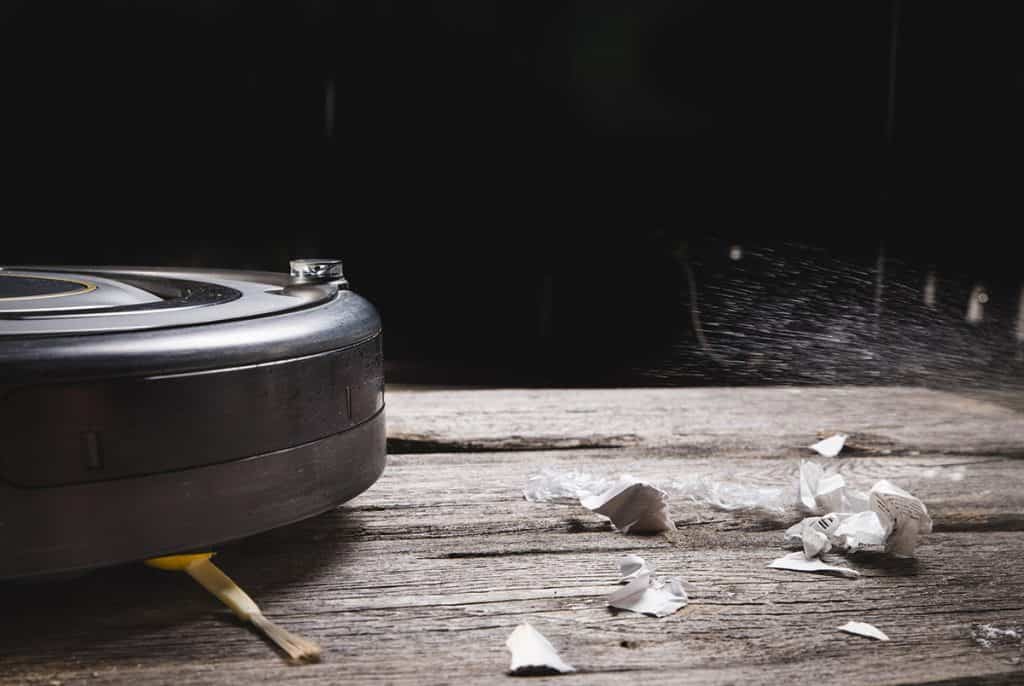
The Roomba can get immobilized entirely by having a shoelace wrap around its wheels or clothing jamming up inside the vacuum.
One way to keep on top of this is to have your Roomba clean at certain times, say, every morning at nine. Once you hear your Roomba activate and start to patrol, do a quick lap of the area yourself and pick up any potentially troublesome objects.
An easy way to create additional storage space to have somewhere to place these miscellaneous objects is to use removable hooks. I recommend the Command Medium Utility Hooks (available on Amazon.com) that come with nine hooks and 12 damage-free sticky strips.
This enables you to put some hooks up in a few minutes in all the strategic locations where you need to hang something to get it out of the way for the Roomba.
Designed to take up to 3 lbs (1.3 kg) of weight, this is perfect for hanging up hats, exercise bands, or scarves.
3. Check Light Levels and Light Sensors
Roombas will use sensors to map out their surrounding area to stop them from bumping into objects and to better clean corners. However, these sensors need adequate light and unobstructed vision to keep them functioning properly.
New Roombas tend to use lidar, or light detection and ranging, to deal with remote sensing and measure distances. This is done with infrared lasers that can operate in the dark with no issue.
But if your Roomba only uses optical sensors, these rely on a certain minimal light level to function correctly. If you have the iRobot Roomba 4100 or similar models, this will be the commonly observed “circle dance” behavior.
There are a few strategies to deal with this. The first is to run your Roomba only during the day when there is sufficient natural light or turn on the lights while your Roomba is active.
The other is to clean the optical sensors, as they can have a buildup of grime or dirt on them, making them function less than effectively.
iFixit has a great guide where they show you step-by-step how to disassemble a Roomba 4100 series and use compressed air to clean the optical sensor.
As you can imagine, it’s easy for even a few specks of dust to wreak havoc with this sensor, and your Roomba will be exposed to a lot of dust when it is cleaning.
Set a reminder in your calendar to clean this sensor out once every few weeks, or keep an eye on your Roomba and clean it when you start noticing any malfunctions.
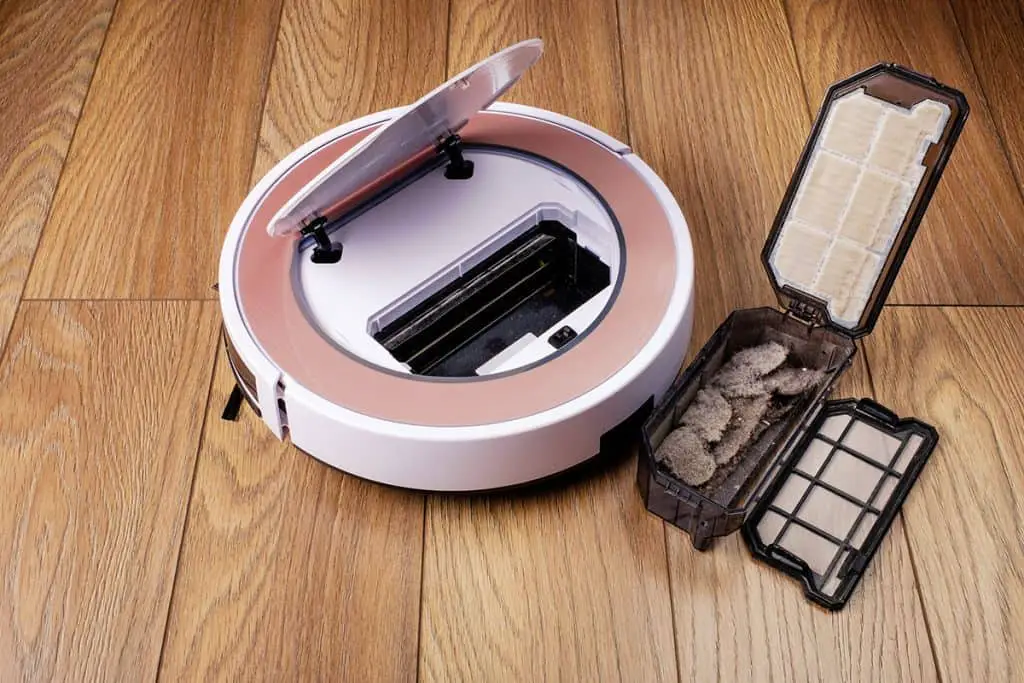
4. Regularly Clean Out the Roomba’s Dust Bin and Roller
Once the Roomba’s dust bin gets full, it can’t fit anymore and will drag dust around rather than cleaning it up. As the Roomba is designed to be small and compact to get in tight gaps and between furniture, it can also fill up very quickly.
One strategy to combat this is to schedule your Roomba’s cleaning times so that it is convenient for you to empty them. For example, you can have your Roomba finish cleaning just as you arrive home, so you can empty it right when you hear the vacuum’s cycle ending.
Roombas come with a scheduling system that you can easily control via your phone or another smart device.
A schedule that would work for many people in the above scenario would be to have the Roomba run every weekday at 5 pm so that it finishes its hour cleaning at 6 pm, so that as you walk in the door, you can quickly open it up and dispose of the built-up dirt.
If doing this dirty job doesn’t sound like a whole lot of fun, you’re not alone. iRobot has even produced the iRobot Roomba s9+ (available on Amazon.com) that has automatic dirt disposal on its base station. Once the Roomba’s cleaning cycle is complete, it will return to the base station to empty itself and resume cleaning.
Cleaning the Roller
The roller is a moving part driven by a belt and electric motor. Its proximity to the dirt and grime being vacuumed up means it often gets its fair share of dirt buildup. As the roller is the central cleaning part of the Roomba, if it is not working correctly, your Roomba won’t be either.
Cleaning the roller is something you can do yourself. You’ll want to purchase the PoityA Circular Brush Bristle Cleaner (available on Amazon.com) as well as get a pair of gloves, a Phillips screwdriver, and your Roomba.
To clean a Roomba’s roller, follow these simple steps:
- Flip the Roomba over so you can see the bottom.
- Remove the hopper, the plastic front intake by sliding it out.
- The roller will be behind a cover that can be popped open.
- Remove the belt that is driving the roller on one of its ends.
- Pop-out the roller.
- Use the circular brush bristle cleaner to remove the dirt from the roller.
- If the roller looks unsalvageable, you can get replacements online.
For a more in-depth guide, including pictures, check out these step-by-step instructions.
5. Use Zoning
While doing the spot clean is ideal, sometimes you don’t have enough time to do it or can’t be bothered. An alternative is to set up an area for your Roomba to avoid, and you can place items there so they don’t get caught up in the vacuum.
The easiest way to do this is to open up your Roomba app, sometimes called the Genius Home Intelligence platform.
In the app, if you’ve been using your Roomba for some time, it will suggest a Recommended Keep Out Zone.
A Recommended Keep Out Zone is achieved by the Roomba scanning the areas of your house and crunching some data to suggest trouble areas of the house, particularly if the Roomba has had issues there before.
Otherwise, you can manually set a Keep Out Zone. This is only available for the i series and s series Roomba and can be precisely set in the app based on the Roomba-generated floorplan of your abode.
You can then make this Keep Out Zone somewhere in a corner and pile up certain items that could interfere with the Roomba’s usual cleaning pattern, such as ropes.
6. Improve Battery Conservation
Leaving your Roomba plugged in constantly is not good practice. Batteries, particularly lithium-ion batteries, do not deal well with being overcharged once they hit 100%.
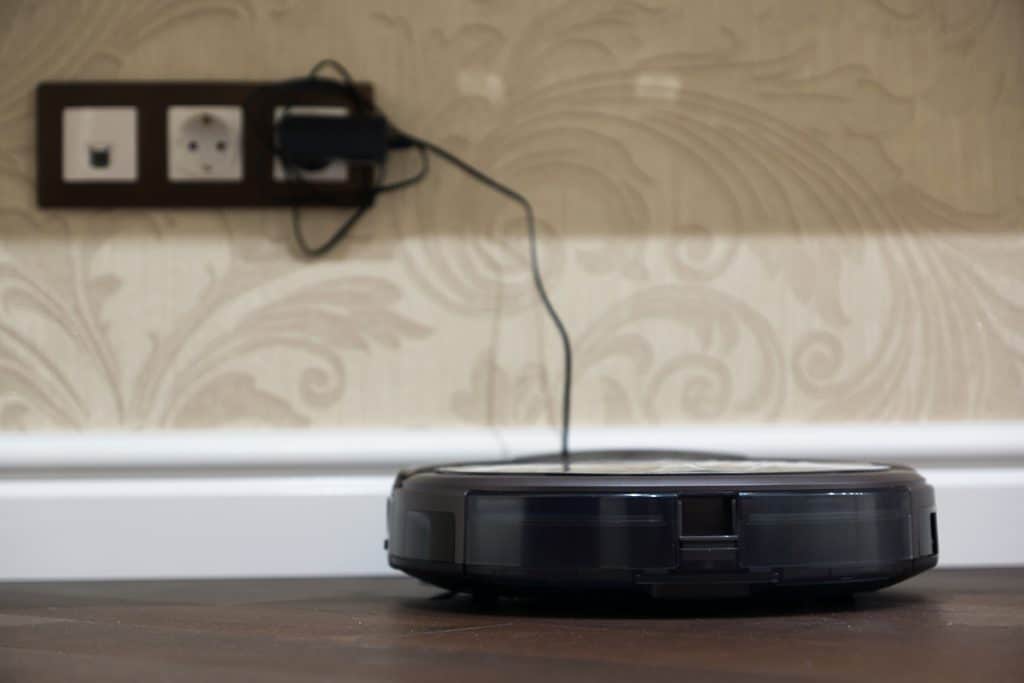
If you want to extend the battery life as much as possible, you should only charge after using the Roomba. Once it has returned to the base station, leave the Roomba in the charging station until it is recharged, and then either remove the Roomba or turn it off at the wall socket.
Keeping on top of the charging cycles will not only extend the battery life, but help the Roomba run better. Roomba’s manufacturer says that if a battery runs completely flat, it may reset the internal clock. This will impact the Roomba’s scheduled cleaning abilities.
7. Plan the Location of the Base Station
Putting the base station in a central location helps the Roomba clean more efficiently as it can reach more areas in a shorter amount of time. It will also go back and charge itself quicker than if it has to go back across the room.
Look for a spot that enables Roomba to be central to the room but not in the way of regular foot traffic.
One common location is to have the base station under a cupboard or sofa, as it will be out of the way but still accessible if you need to grab it to clean it.
8. Set the Internal Roomba Clock
As your Roomba depends on the internal clock for it to follow the cleaning schedules and time between cleaning, you’ll need to make sure it’s set correctly to get the most out of it.
On the Roomba 500, 600, 700, and 800 series models, you can follow these steps to set the internal clock:
- Click the “clock” button on top of the unit.
- Use the Minute, Hour, and Day buttons to adjust the clock.
- Press OK.
Other Roombas that are Wi-Fi enabled can be configured using the iRobot Home app. To connect your Roomba to the Wi-Fi involves downloading the app to your device and plugging in the docking station.
To connect your Roomba to the Wi-Fi, follow these steps:
- Open up the iRobot app and create an account.
- The home screen will ask you to select your Robot.
- Find your Roomba in the app and then follow the prompts.
- After answering some questions, you will get to the Wi-Fi settings where you can input them.
Once connected successfully, your iRobot app home screen will show an icon on the bottom right-hand side, a circle with three dots. Tapping this will allow access to settings. You can set the clock manually here, but it should synchronize the time automatically.
9. Perform a Factory Reset
If your Roomba isn’t following the schedules or zones you set up and the clock is accurate, then it may be worth performing a factory reset to see if that fixes it.
To perform a factory reset, follow these steps:
- 500 and 600 Series: Press and hold the two semi-circular buttons above and below the central “Clean” button. After 10 seconds, the unit should start resetting.
- 700, 800, and 900 Series: Press and hold “Clean,” “Dock,” and “Spot Clean” buttons at the same time. Roomba should beep to acknowledge, then release the buttons.
For the i series and s series, you can perform the reset in the app by following these steps:
- Click “More” on the app’s home screen
- Click “Settings”
- Click “Factory Reset”