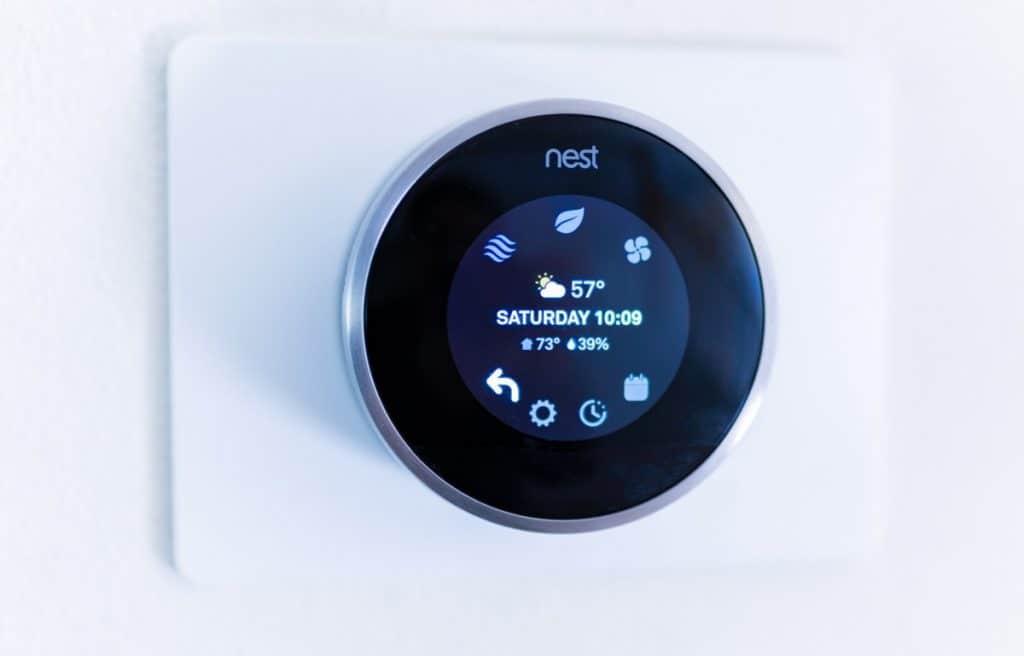
According to Statista, about 33 million units of smart thermostats have been sold in the United States. A New York Times survey on the various smart thermostats in the market found that Nest Thermostats are some of the best. Unfortunately, even with the great performance, they can still experience some common problems.
Here are the 12 common problems with Nest Thermostats:
- The vents release hot air instead of cold air.
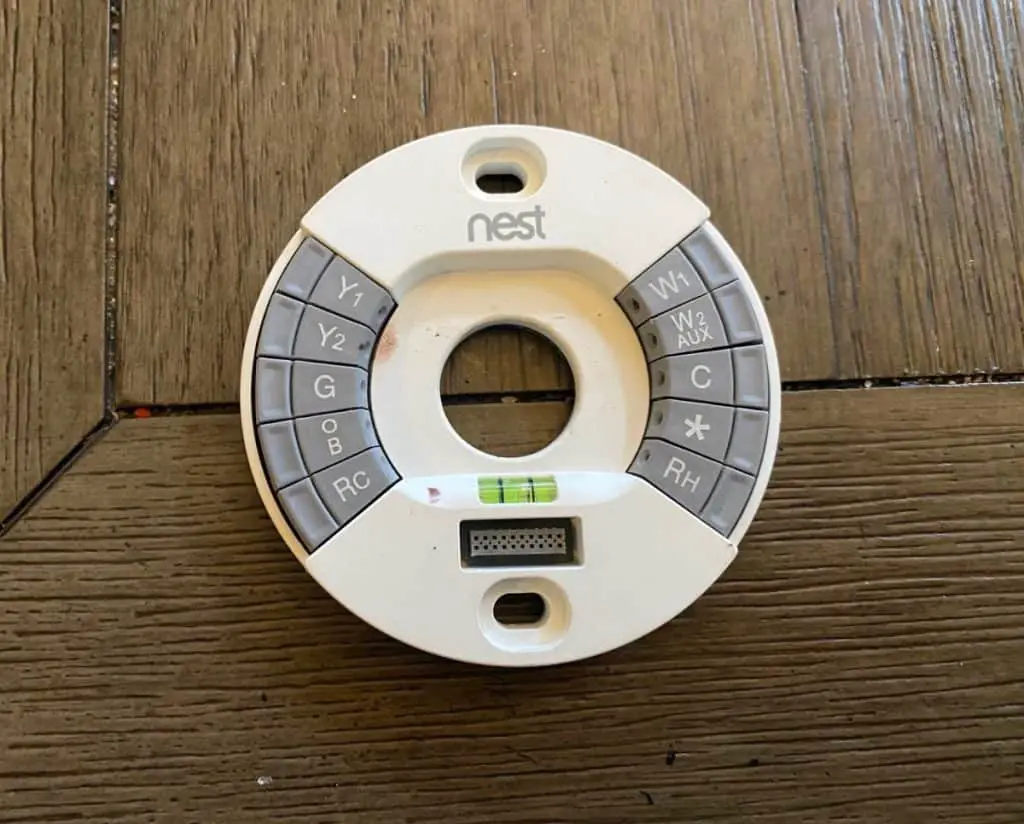
- There is no power to the “Rh” wire.
- The Nest button isn’t clicking.
- There are low battery issues.
- The thermostat gets too cold or too hot.
- The thermostat is blinking and is unresponsive.
- The thermostat goes into a delayed mode.
- The thermostat frequently disconnects from WiFi.
- The thermostat keeps turning on and off.
- The thermostat is short cycling.
- The fan runs continuously.
- It has a sensor failure.
The rest of the article will delve on what’s causing these problems and how you can fix it. Keep reading to learn more.

1. The Vents Release Hot Air Instead of Cold Air
When your vents are blowing hot air instead of cold air, the most common cause is improper wiring. Instead of using the heat pump row, you may have followed the conventional wiring of your old thermostat.
Fortunately, you can fix this by relabeling the wiring and correctly using the heat pump side. Before fixing this problem, ensure that you have the breakers off before you handle the wires.
Before you start wiring your nest thermostat, take a photo of your old thermostat wiring and then check for wire compatibility using the Nest Compatibility Checker. Alternatively, you can add the thermostat to the Nest App and use the interactive wiring guide to fix the wires correctly.
Once you fix the wires correctly, the Nest Thermostat will detect it, and you can now feel the cool air from your vents.
2. There Is No Power to the “Rh” Wire
When you get an E74 report showing “no power to the ‘Rh’ wire’ alert, then your system will not come on. There are several reasons behind this problem.
- One of the breakers may have tripped. Check if all the breakers are on. You can tell if the breaker has tripped by looking at the switch between the on and off locations. Switch the corresponding breaker off and on, and then check if your system is powered.
- Poorly connected Rc and Rh wires. The Nest Thermostat separates the Rc and Rh wires. However, in some cases, you may only have one wire. This wire should go to the Rh port. If you are still getting a no power alert, try putting the red wire into the Rc port.
- Blown fuse in the air handler. Check if you have blown a fuse. If you do, replace it and see if your system is on.

3. The Nest Button Isn’t Clicking
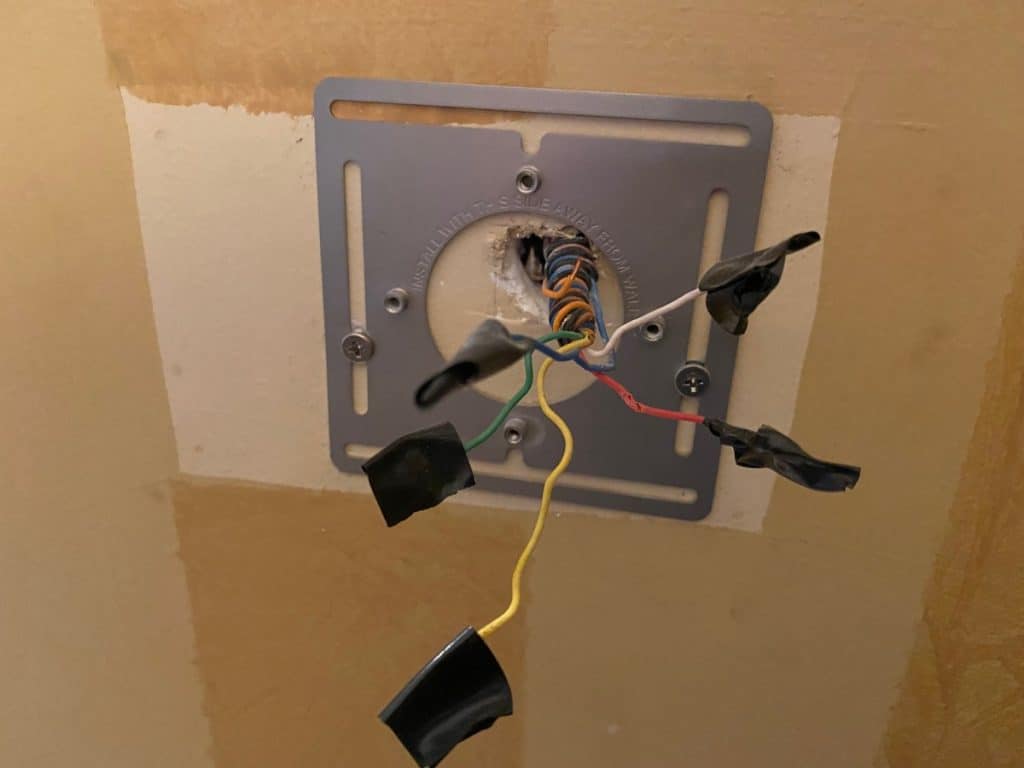
The button not clicking is another common problem with Nest Thermostats, especially during the first setup. This sometimes causes the system to reboot. The cause is usually the wires at the back getting in the way. If your wires are too long, you can clip them to make them less bulky.
It is also possible that the mounting disk is not well secured on the wall. Unfortunately, the bulky wires may also be the cause. If you are concerned about poorly connecting the wires, you should take photos of the wires as they are before clearing the wiring mess.
Use wire cutters to cut off as much wire as you need to and then restrip them. When you have fresh copper to work with, you can go back to rewiring your thermostat as it was before.
Press the thermostat at the base, and if it responds, you have solved the problem.
This MulWark Electrical Wire Cutter, available on Amazon.com, is great for stripping the electric wires connected to your Nest thermostat. The cutter has a clean cut, a cushion-grip handle, and a lifetime warranty.
This video is a great guideline on how to properly set up your Nest thermostat:
4. There Are Low Battery Issues
When your Nest Thermostat has low battery issues, you will have difficulties connecting to the WiFi, the thermostat will stop functioning, or it may fail to turn on. Before coming up with possible solutions, you need to ascertain the reason behind the low power.
How To Check Your Nest Battery’s Status
Go to settings, and then scroll to technical info. Check the power settings. Here you will come across various settings, but the most important ones are the battery level and lin voltage.
If your battery level is above 3.6V, your battery is in good shape. The line level should ideally be above 20 mA. If the line voltage level is below 20 mA, then you will have low power issues.
Solutions
If you discover your Nest Thermostat has low battery issues, you can solve the problem in three ways:
- Charge the Nest with a USB cable. This is a solution if your AC system has been off for a long time. If the thermostat was in storage for a long time, the battery might need a boost for your Nest to work. You will find the charging port at the back of your thermostat. Charge it with a regular phone charger for an hour or two.
- Use a 24V common wire transformer. This transformer is handy if your HVAC system is not providing sufficient power to your Nest thermostat. You only need to plug the transformer and connect it to your thermostat. This transformer has two wires. One goes to the Rh terminal and the other to the C terminal.
- Remove the G wire and put it in the C terminal. However, you need to do the same with the G wire in your HVAC system for this to function fully. This will ensure your Nest is charged continuously.
This video further illustrates what you can do when your Nest thermostat has low battery issues:
5. The Thermostat Gets Too Cold or Too Hot
When your thermostat gets too hot or cold, the likely culprit is the absent common or C wire. The Nest Thermostat can function with or without the C wire. Since it uses a lithium-ion battery, the thermostat can recharge itself using your HVAC system.
When the C wire is absent, the battery is only recharged when the Nest thermostat is running. The downside is the battery takes in small amounts of energy at a time. So, unless you heat or cool your home frequently, you are bound to get a low battery alert.
To connect the C wire, follow these steps:
- Run a new wire from unfinished floors in your home.
- Remove the G wire and plug it into the C terminal. You should do the same with the G wire in the HVAC system. You should also get a jumper wire connecting Y to G. This is especially important if you have central air conditioning.

6. The Thermostat Is Blinking and Is Unresponsive
When you notice a blinking green light on your Nest thermostat, this is usually a sign that it is undergoing a software update. This usually lasts a minute or two, and then the thermostat should restart.
If the green light keeps blinking for longer and your thermostat is non-responsive, then the system may have frozen.
Remove the thermostat from the base, then put it back. The reconnecting display should come on. If it doesn’t, press the thermostat for a few seconds to restart it.
7. The Thermostat Goes Into a Delayed Mode
Another common Nest Thermostat problem is a delay message displayed on the thermostat. The delayed feedback is often linked to problems with the battery. It could be because your thermostat does not have a common wire.
The solution is a wire to the C port. This way, the thermostat’s battery will recharge itself using the HVAC system.
8. The Thermostat Frequently Disconnects From WiFi
Your Nest Thermostat is likely disconnecting from the WiFi because its battery level cannot support its smart functions.
If you notice your smartphone constantly attempting to reconnect with your WiFi network, it could be because of the following reasons:
- Your WiFi is not working. Check your WiFi’s status using other devices to confirm if it is on or not. If you have WiFi on other devices, then it is a sign your thermostat has a problem.
- There might be a problem with the Nest service. When this happens, you might see a message to this effect on the Nest app. In this case, you’ll have to wait until service resumes.
- Your thermostat has a battery problem. This is often associated with the absence of the C wire.
Solutions
- Restart your router. This is the easiest and fastest way to determine if the problem is with your WiFi or thermostat.
- You can also reset the thermostat’s WiFi connection. Remove the thermostat from the home app and then set it up again. What you are doing is asking your WiFi to “forget” the thermostat. You can now reconnect the thermostat to your WiFi and see if it will work.
- Connect the C wire. If the thermostat’s battery is not receiving sufficient power, it will fail to perform optimally. You can solve the on and off WiFi connections by connecting the C wire. You can either get a new wire to fit in the C wire slot or turn the G wire into a C wire. If you opt for the latter, do the same in the HVAC system.

9. The Thermostat Keeps Turning On and Off
If your Nest is unstable, it is possible that your HVAC system has a problem, and not necessarily your Nest. For example, a clogged air filter may cause your air conditioning system to shut down.
When this happens, your Nest will not be able to draw power to charge its battery. This will destabilize your thermostat.
Ask your technician to check the HVAC system for any faults. You may also request maintenance of your air conditioning system.
10. The Thermostat Is Short Cycling
When the Nest thermostat short cycles, it usually goes off before reaching the set temperature. This can be a little frustrating because Nest is not warming or cooling the house to your preferred temperature.
Your Nest may be behaving this way for various reasons:
- There are corroded flame sensors in the HVAC system.
- The furnace may be overheating.
- The air filters are clogged.
- You have an oversized furnace.
- You have a poorly insulated furnace.
- You have a faulty thermostat.
Before checking on the furnace, carry out a quick check of your Nest to confirm if the settings are correct. If the thermostat has no issues, seek the services of an HVAC technician.
11. The Fan Runs Continuously
When the fan runs non-stop, it will affect how your air conditioning works. Instead of the water being blown outside, it will be released back into the house. This causes your air conditioning to work harder to remove the extra moisture. Not only will this strain your HVAC system, but your thermostat as well.
You can solve this problem by:
- Restarting the thermostat.
- Resetting the thermostat to its factory settings.
- Turn the fan off.
- Cutting the power to the furnace.
- Swapping wires at the terminal. Ensure the breakers are off before you remove the thermostat display. Swap the G and Y1 wires by fixing the G wire into the Y1 terminal and vice versa. Put the Nest display back on, and switch on the breakers. Check if the system is cooling correctly and that the fan is running appropriately.
12. It Has a Sensor Failure
Some of the common sensor failures with Nest thermostats include:
- The app’s failure to track the sensors
- Miscommunication between the sensors and the Nest Thermostat
- The system is not heating or cooling the room as commanded
When you discover these issues, the problem likely lies with the sensors. There are several possible causes of the sensor issues you are having.
- The sensors in the target room may be inactive. Check the app to confirm if the sensor is off.
- Poorly positioned sensor. If the sensor is placed too close to a window, temperature fluctuations may cause the sensor to misread the signals. The result will be an overheated room or an extremely cold room. It would help if you tried changing the sensor’s position or the sensor’s schedule.
The Google Nest Temperature Sensor from Amazon.com, is easy to set up, has a long-lasting battery, and the simple design makes it suitable for any room in your home.
