If you’re having issues with a device connected to your Google Home, removing it and relinking it may solve some problems. Grab your phone or tablet and follow the steps below.
Here’s how to remove devices in the Google Home app in 9 steps:
- Access the Google Home app.
- Select your device.
- Remove the device.
- Perform a factory reset.
- Use voice commands to remove a device.
- Check assistant settings for saved data.
- Check the room or home settings.
- Remove voice match.
- Check for internet issues.
I’ll discuss how to implement each of these methods below.
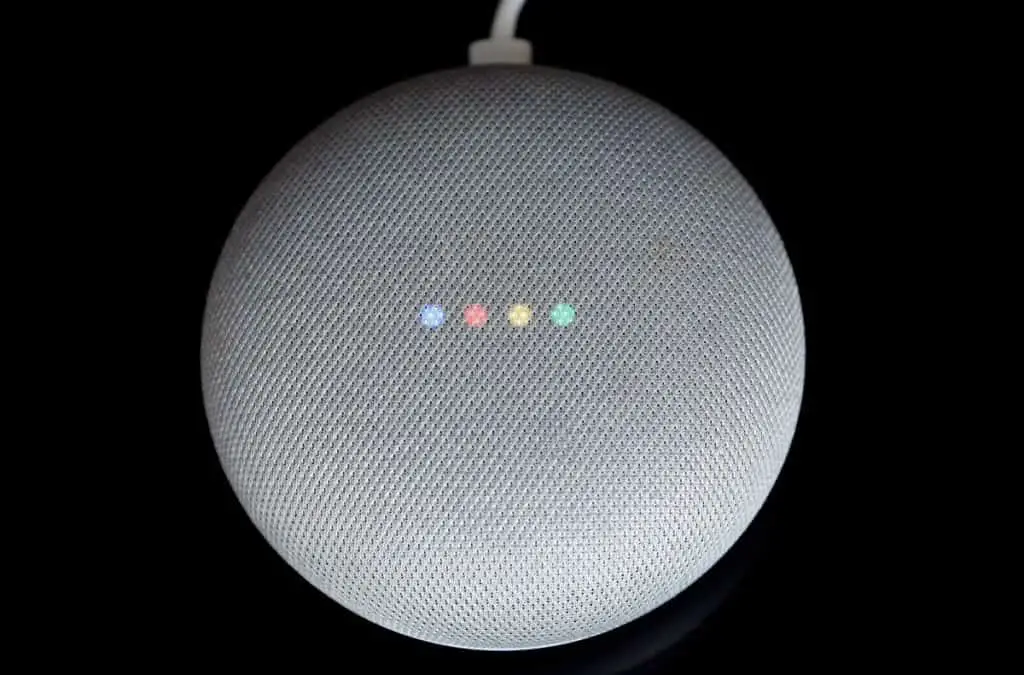
1. Access the Google Home App
All the configuration for your Google Home starts from the Google Home app. You can get the app from the Google Play Store for Android-based systems or the App Store for iOS. If you already have the app, make sure it’s updated before trying other steps.
It’s common for many apps not to update unless a license agreement or similar is clicked, which means the app will no longer interface properly with devices.
As devices will be linked via your account, it’s essential you first try using a device that’s logged into the same account as the device you’re trying to remove.
Some devices require proper location data to operate. This means you may have to turn on location sharing in the Google Home app. Here are the steps for doing that:
- Go to settings.
- Then go to Google account settings.
- Select Personal Info.
- Scroll until you see a menu titled Home and Work Locations.
- Enter a street address, or use GPS to set your current location as the default.
If the app can locate the home, this may then enable it to be removed later.
Keep in mind that any devices connected via Google Nest need to be removed via the nest app even though they may appear in the Google Home app.
2. Select Your Device
The main screen of the Google Home app will show all connected devices. Select your device, and then in the top right, there’ll be a gear icon representing settings.
If you can’t access the settings page, confirming if the device is powered on may be worth checking. If it is, try performing a soft reset by unplugging the power source to power the device down. After that, reinsert the power cord and wait for the device to reboot.
Go back into the Google Home app and refresh the screen. On mobile, this is done by pulling down from the top of the screen with your finger. This should cause a circular arrow to appear, and the screen should update.
If you still can’t access the settings, then you should try another device. For example, if you were using your phone to connect to the device, try using a different phone.
If you can’t connect, it may be that there’s a Bluetooth or WiFi issue with either the device you’re trying to connect to or your connecting device.
It may be worth trying to update the device in case a software issue is causing the non-removal. This will happen after the device has been rebooted via a soft power reset by removing the cable or the app.
Otherwise, you can try manually searching for your device. Click the Search bar up the top or select the magnifying glass. Type in some keywords like the name of the device, brand, or model number.
If you have many devices already listed in the app, it may be worth removing old or no longer used devices in case they are causing a conflict with new devices.
3. Remove the Device
Go into Settings, and then down the very bottom in red, it’ll say remove device. Select the option and confirm the removal.
If you can’t find this option from the app’s home screen, click on the settings icon in the middle of the screen, and then see if your device is listed. Select it and go down to the bottom, where it’ll say unlink next to the name of your device.
Select unlink by tapping the arrow to the right and then confirm the unlink.
Keep in mind that the manufacturer rather than individual devices link some devices. If you unlink a device, this can mean that it’ll remove the same brand that makes all other devices you have connected to that.
This will be the case if the device is marked “Works with Google.” These are non-Google products that have been certified to be compatible with devices like Google Home Mini and other Google Nest products.
You need to interface through Google Nest Connect or Nest Guard for security products with auto-lock features such as the Yale Door Lock (available on Amazon.com). Remove these from the Google Home app and then do a soft reset on the lock by removing the batteries or switching them off.
Relink Nest Guard or Nest Connect, then try relinking the lock.
4. Perform a Factory Reset
If your home screen on the app is still showing the device after removing it, next is time to try a factory reset. Keep in mind that this will wipe all of your settings.
Consult the manual for the specific procedures on how to perform a factory reset. Sometimes referred to as a hard reset, this is generally achieved by selecting it via the product’s settings or pressing a combination of buttons.
You can go into the settings via the Google Home app after selecting the device for Google products.
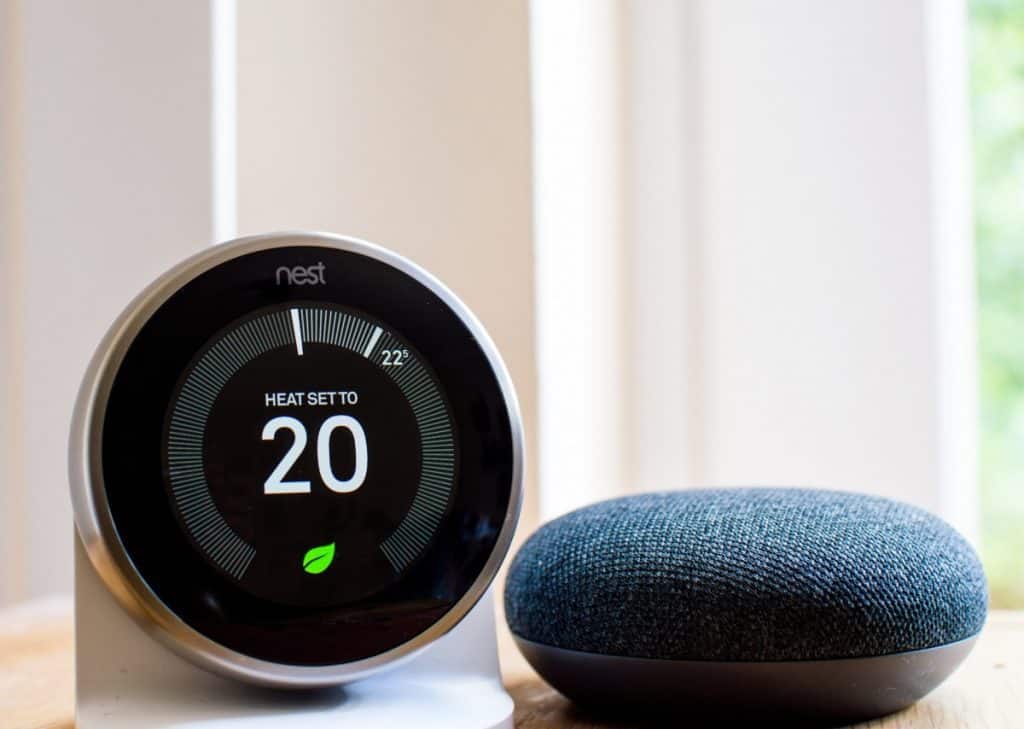
Keep in mind that you want to note down some information from the device for ease of reconnection before resetting it. For example, you can get a programmable thermostat that learns your schedule and your temperature preference such as the Google Nest Thermostat (available on Amazon.com), and before disconnecting, you should record the wiring information.
Access this by going into the thermostat settings and selecting equipment. This will show the wiring information you need if prompted later after the factory reset.
Go into settings and select factory reset. You can relink the thermostat by going into the Google Home app and clicking the plus sign up on the top left.
Other products like the Google Nest Hub Max need to be factory reset via pressing both volume buttons together for about 10 seconds.
All the products from Google have full instructions in the Google Nest Help, so look up your specific product on how to perform the factory reset.
5. Use Voice Commands To Remove a Device
Use voice commands to remove a device by approaching the device hub. This may be a Google Home Mini, Google Home Hub Max, or other voice-controlled Google device.
Say, “OK, Google,” then, “Remove [name of device] from Google Home.” You can check the Google Home app to see the listed name of the device if you’re not sure.
6. Check Assistant Settings for Saved Data
Google Assistant can also save settings and have device link information be modified to remove a device successfully.
Google Assistant may need to be enabled before checking the status of connected devices. On Android, open up the Google app; usually, it’s a rainbow-colored letter G. Otherwise, try to find your Google account settings and look for Google Assistant.
Go into settings and select Google Assistant, ensuring it’s set to on or the slider is blue.
You can launch Google Assistant by holding the home button on your Android device or saying, “OK, Google.
Google Assistant will then prompt you to either speak your command or type using the keyboard. Select your profile avatar, select Settings, and then select the arrow under devices.
You should see the device linked, with an unlink setting down the bottom. Select the X next to unlink to remove this device.
7. Check the Room or Home Settings
If the devices are still showing up in the Google Home app, they may be linked to what’s referred to as a Room. Rooms are a way to group all devices under Google’s control so that you can set rules for all devices in one go.
Open the app and go into settings. Near the top, it should say Rooms and groups. After going into this section, you should see a list of the saved Rooms. Select and delete the Room to which your device is linked.
If you can’t tell which Room has your device, delete all listed Rooms.
It’s also worth deleting the access to these devices under Household. In the settings screen, select Household, just above Rooms and groups. Remove all members that have access to the device by selecting them in the list and removing them.
Finally, if you’re still having issues, the very bottom of the settings screen has a delete Home option. This will reset all linked devices, and they’ll have to be manually reconnected.
8. Remove Voice Match
Voice Match grants access to Google Home devices and can prevent them from being removed. Be aware that deleting this data will result in permanently deleting Face Match for the same device.
Open up the Google Home app, go into your device, select settings and go into Recognition and sharing.
Below this, there should be Recognition & Personalization, from which you can select Remove Voice Match. There should be a confirmation screen or X that you have to press to finish the process.
9. Check for Internet Issues
If you notice your settings aren’t being saved, it could be that you’re not connecting correctly to the Google Home because of internet issues.
If you ever notice your Google Home constantly says “something is wrong” or “try again in a few minutes,” it’s likely an internet connectivity issue.
First, try a soft reset of the device and move it within line of sight to the wireless source. If you have plumbing or metal in the way, it may block the signal. Try to have either your WiFi or Google Home centralized to guarantee the best internet connection.
Interference from devices like an uninterruptible power supply (UPS) can cause internet dropouts and cause electronics not to function correctly.
Google Home is recommended to be used on a 2.4GHz wireless connection rather than a 5GHz, particularly for updating it. You can force your internet to connect to broadcast in 2.4GHz by going into the modem settings and forcing it.
Consider getting a WiFi signal booster if the Google Home has to be far away from the internet connection.
WiFi signal boosters can be picked up in a pack of two or three and will extend your internet coverage to all rooms of your house. One such WiFi signal boosters, the Netgear Range Extender (available on Amazon.com), has thousands of positive reviews and plugs right into a wall socket.
You can also perform a soft reset through the Google Home app by going into Devices and selecting the three dots in the corner before pressing settings, then more, then reboot.
It’s also worth seeing if your home internet is set up correctly. Contact your internet service provider or run through their website to do some basic troubleshooting of your internet and to check all settings are correct.
If you suspect internet issues, it’s worth logging into your modem and rerunning the setup wizard to make sure the wireless settings are correct. At the very least, you can perform a soft reset of the modem to make sure it’s running correctly.
Final Thoughts
There are many reasons why a device may refuse to be removed from the Google Home app. A soft reset will likely solve most of these issues, but you may need to log in and remove various accounts and linked devices manually if this doesn’t help.
You need to try logging into the Google Home app and try it there. After, there are other places that may still be linked to the device that must be deleted too.
If you follow these steps, I’m sure you’ll be able to successfully remove a device so that it doesn’t cause further issues.