With technological advancements and busy work schedules, many people are moving toward automation to make life easier. Arduino, an open-source platform entailing both software and hardware, has enabled the use of electronics in numerous projects. Home automation is one of the things you can achieve using an Arduino, and it enhances convenience by controlling appliances, including air conditioning, lights, security cameras, and garage doors.
Here’s how to create a home automation system using an Arduino:
- Gather up all the required tools and materials.
- Download and set up Arduino Software (IDE).
- Assemble Arduino hardware components.
- Program your Arduino home automation system.
- Test your home automation system.
An Arduino home automation system will let you have wireless control of your home wherever you are. It’s also an effective way of cutting costs as some appliances will automatically switch off when they’re not needed. The rest of this article will guide how to create this automation system without breaking a sweat.
1. Gather Up All the Required Tools and Materials
A home automation system comprises multiple software and hardware components. An Arduino home automation system is preferable as it’s cheap, easy to use, cross-platform, and contains open-source software and hardware.
You don’t have to be a programming expert to use Arduino as its integrated circuit is straightforward.
Here are the components you’ll need for your Arduino home automation system:
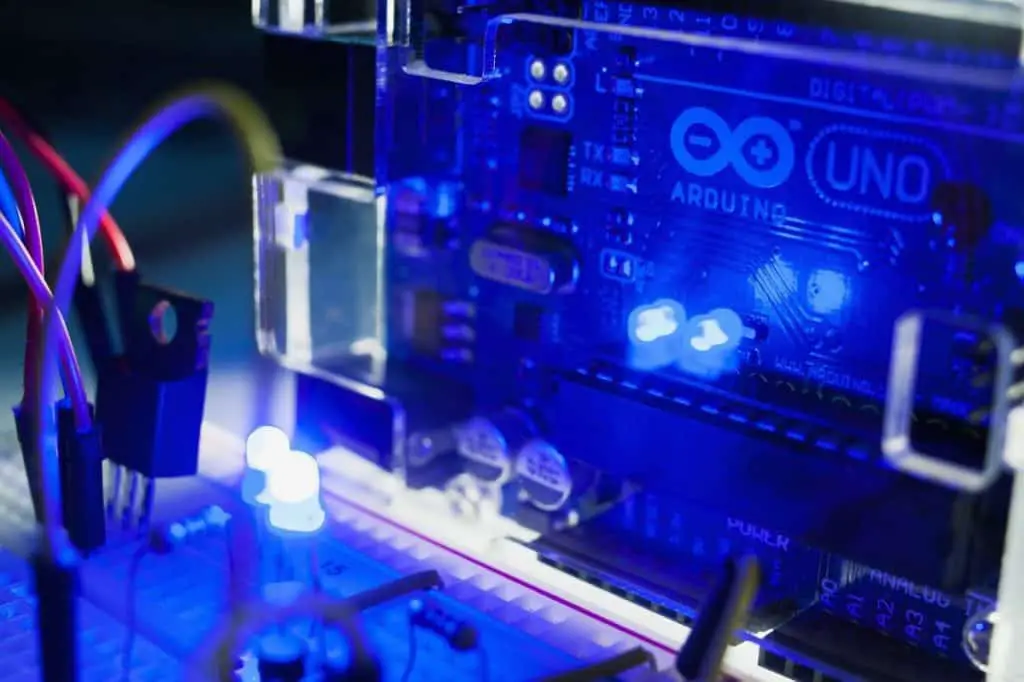
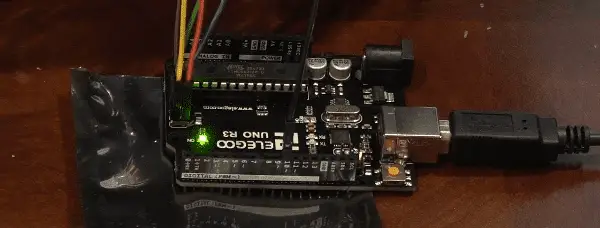
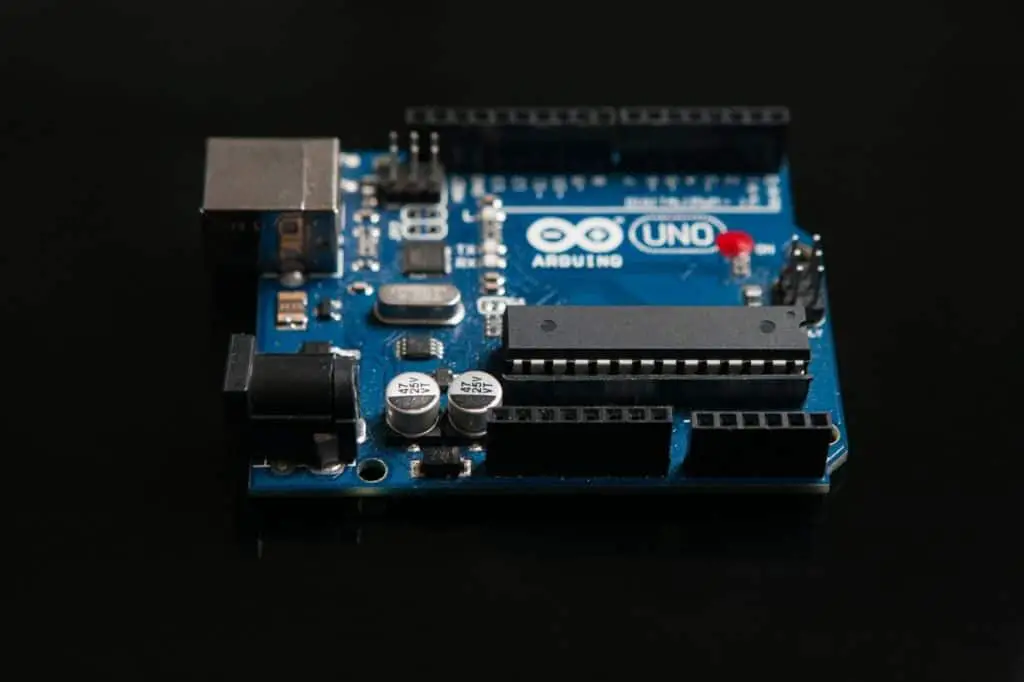
Arduino Board
An Arduino board is built on a microcontroller, an integrated circuit that writes instructions using a programming language and uses them in the software environment. In other words, a microcontroller is simply the Arduino’s brain.
Microcontrollers have communication, input, and output ports that enable the boards to read information from sensors. They receive inputs, such as a room’s brightness, and turn it into outputs, such as switching off the light.
Arduino boards come in different shapes and sizes, including Arduino UNO, Arduino NANO, Arduino Micro, Arduino MKR1000, and Arduino Leonardo. The UNO is the perfect board for beginners, while Arduino MKR1000 is best for wireless connections for IoT (Internet of Things) projects.
The Arduino IoT Bundle (available on Amazon.com) is cost-effective and ideal for home automation systems. The package contains the Arduino MKR 1000 board, a micro-USB cable, a 400-point breadboard, and 70 solid-core jump wires.
Android Smartphone
An android smartphone lets you control and monitor your home appliances from any location. WiFi-enabled smartphones connect to the other Arduino home automation system components, making it possible to set actions to control home appliances.
The system configures information from several sensors on your home appliances and sends it to your smartphone as push alerts.
With some Arduino boards, you’ll also have to download a DIY smart home android app, such as the Arduino Bluetooth Controller. The application will enhance communication between your phone and other devices in the automation system.
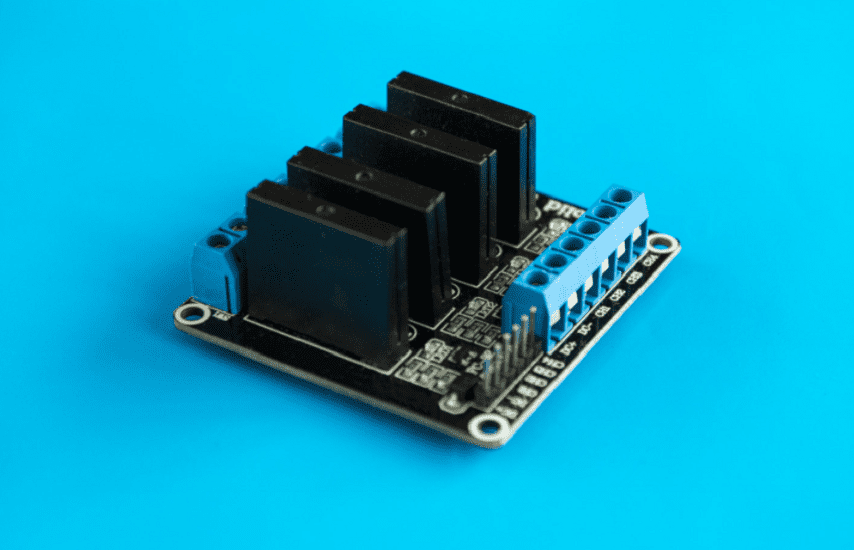
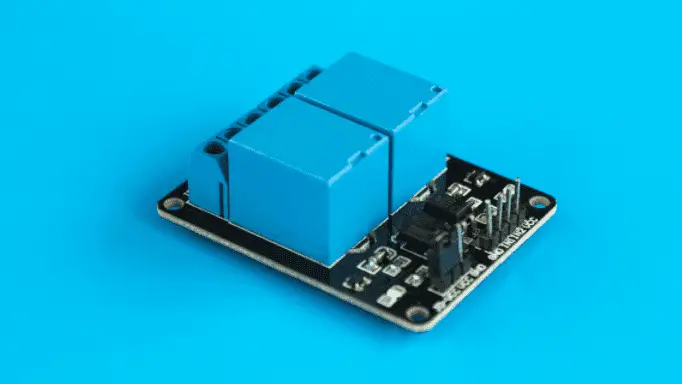
Relays
A relay is the switching element of your home automation system. Depending on the number of appliances you’ll be controlling/monitoring, you can have one or more relays. They control electrical devices mechanically by either breaking or closing connections in a circuit.
A relay comprises five terminals, where two of them are the endpoints of the coil. The type of relay you’ll use for your automation system depends on the output of your Arduino board. For instance, an Arduino MKR1000’s output is 3.3V; hence, it requires a 3.3V relay.
You have to connect it to the Arduino board via the terminals and pins to get the relay working. To facilitate monitoring and control, you also have to connect the relay’s output to your selected home appliances.
Different relays are available such as the JBtek Relay Module (available on Amazon.com) at an affordable price.
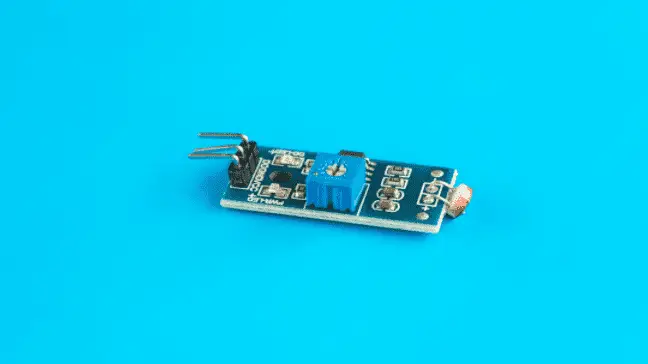
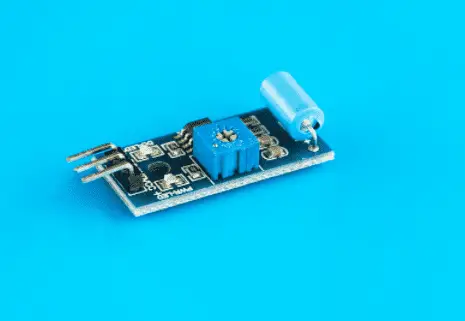
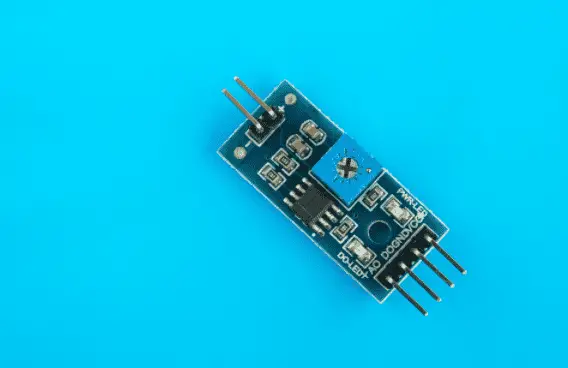
Sensors
Sensors are devices that receive signals from your home environment and send the information to the Arduino board’s microcontroller. The exact sensors you’ll have in your home automation system will depend on what you want to control.
For instance, if you want to monitor and control the lights in your house, you’ll need a light sensor. Other types include motion, temperature, GPS receivers, and gas sensors.
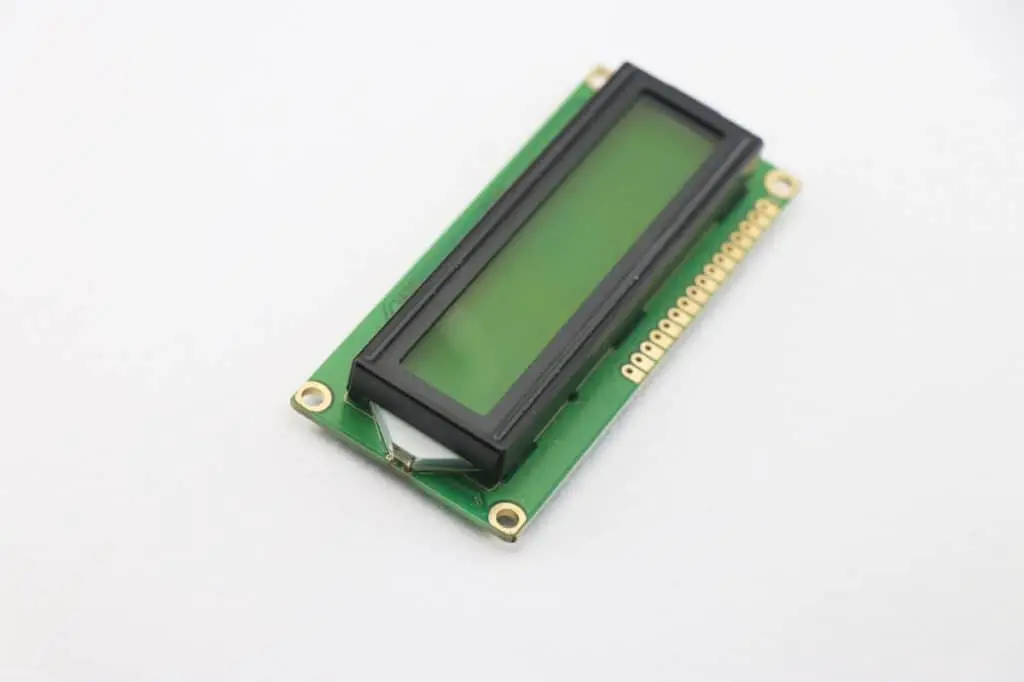
LCD Display
LCD Display is a device that allows you to monitor the home automation system’s progress. It displays your system status and the IP address of the wireless network. Hence, you can determine the strength and stability of the two when the system starts working.
For instance, if you’re monitoring your home’s temperature, the LCD will display the room temperature after setting up your materials and connect the Arduino board to the power supply.
Your Preferred Home Appliances
Now, what kind of home appliances do you want to control or monitor? You can have various gadgets in your home automation system. They include fans, window blinds, door locks, thermostats, security cameras, motion sensors, and room heaters.
The number of relays you’ll use on your home automation system will determine how many appliances you can connect and control.
2. Download and Set Up Arduino Software (IDE)
Now, you have to download and install the Arduino software (IDE – Integrated Development Environment) before you set up your home’s automation system.
Here are easy-to-follow steps on how to download and set up the Arduino software:
- Using your smartphone, tablet, or PC, go to Arduino’s software page and download Arduino IDE.
- Extract the file after the download is complete.
- Install Arduino IDE on your device and run the setup.
- Once the installation is complete, open the software and go to ‘Board Manager.’
- Add Arduino MKR 1000 to the board manager.
- Go to the ‘Library Manager’ and install the WiFi 101 library. The library enables you to use the Arduino MKR 1000 board and connect it to the internet wirelessly. Therefore, you don’t have to configure it further than entering the SSID and password. WiFi 101 library can either act as a server (accepts incoming connections) or a client (sends outgoing connections). It also supports WEP and WAP2 personal encryption.
3. Assemble Arduino Hardware Components
After setting up the Arduino software successfully, you now need to assemble the hardware. The components include Arduino MKR 1000 board, the relays, sensors, an LCD Display, and the jumper wires.
Since the Arduino MKR 1000 can only accommodate 3.3V, you can only use sensors that use the same amount of voltage. However, if you can only find sensors that utilize up to 5V, you need to shift the circuit levels.
Now, if you want to control four home appliances in your automation system, you’ll require the four-channel relay. Also, you’ll utilize four digital pins on your Arduino MKR 1000 board. Here are the steps:
- D0 – First relay in
- D1 – Second Relay in
- D2 – Third Relay in
- D3 – Fourth Relay in
Then, from the relays, you can now connect the devices using the relay terminals. Here are the steps:
- GPIO pins to one end of the relay coil.
- Ground pin to the other end of the coil.
- An electrical appliance or one terminal of the bulb to the relay’s Normally Open Terminal.
- The other terminal of the bulb to the neutral point of the main power supply.
After connecting the devices, you’ll now link the sensors to your Arduino MKR 1000 board.
Remember, the type of sensors you’ll connect should correspond to the electrical appliances that you want to control or monitor. For instance, you can have a temperature sensor for your home heater or a light sensor for your bulbs.
Note: The sensors, LCD, and relay module connect to the Arduino board via the jumper wires.
4. Program Your Arduino Home Automation System
After successfully assembling your home automation system’s hardware components, you’ll now input the programming language to instruct the board’s microcontroller. Though prior programming knowledge isn’t required, having some coding know-how will make programming easier.
Before you start programming, connect your Arduino MKR 1000 board to your computer to determine if its driver is installed properly. To do this, run the device manager on your PC. If the Arduino MKR 1000 board appears on the “COM PORTS,” the driver is installed correctly, and you’re ready to get started.
To get started on programming, follow these steps:
- Download the Arduino code by following this link.
- Start a web server on MKR 1000.
- Compile and upload your first MKR 1000 sketch. You can start with the LED blinking example as illustrated on this project on Arduino Project Hub’s page. Select MKR 1000 from ‘Tools’ on the ‘Board’ menu in the Arduino IDE to upload the sketch. Then, choose the correct serial port from the ‘Tools’ on the ‘Serial Port’ menu.
- You’ll receive an output figure after uploading the sketch successfully.
The Arduino home automation system code comprises various parts. You don’t have to cram the code as you only copy and paste it on your server.
Now, let’s look at the code’s components in detail:
char ssid[] = "www.rootsaid.com";//Your WiFi Name
char pass[] = "RootSaid";//Your WiFi Password
In the above code snippet, you’ll enter your WiFi ESSID and password. Then, once you’ve uploaded the code, the Arduino board will use the ESSID to connect to the internet and passphrase it.
Next, the four pins of the Arduino board will connect to the 4-channel relay input as follows:
pinMode(0, OUTPUT);
pinMode(1, OUTPUT);
pinMode(2, OUTPUT);
pinMode(3, OUTPUT);
After the above connection, the board will connect to the internet using the details you entered earlier (ESSID and password):
while ( status != WL_CONNECTED) {
 digitalWrite(ledpin, LOW);
 Serial.print("Attempting to connect to Network named: ");
 Serial.println(ssid);
 digitalWrite(ledpin, HIGH);
 status = WiFi.begin(ssid, pass);
 delay(10000);
 }
Then a server, which will act as the webpage, will open at port 80:
server.begin();
 printWifiStatus();
 digitalWrite(ledpin, HIGH);
The webpage code will be as follows:
if (currentLine.length() == 0) {
 client.println("HTTP/1.1 200 OK");
 client.println("Content-type:text/html");
 client.println();
 client.print("www.rootsaid.com<br>");
 client.print("https://www.youtube.com/c/rootsaid<br>");
 client.print("<br>");
 client.print("<h1>Home Automation using Arduino<br>");
 client.print("<br>");
 client.print("<h1>Click <a href="/device1on">here</a> Turn Device 1 ON<br>");
 client.print("Click <a href="/device1off">here</a> Turn Device 1 OFF<br>");
 client.print("Click <a href="/device2on">here</a> Turn Device 2 ON<br>");
 client.print("Click <a href="/device2off">here</a> Turn Device 2 OFF<br>");
 client.print("Click <a href="/device3on">here</a> Turn Device 3 ON<br>");
 client.print("Click <a href="/device3off">here</a> Turn Device 3 OFF<br>");
 client.print("Click <a href="/device4on">here</a> Turn Device 4 ON<br>");
 client.print("Click <a href="/device4off">here</a> Turn Device 4 OFF<br></h1>");
client.println();
 break;
The displayed webpage will then switch the GPIO pin to High or Low depending on the links that you’ll press, as follows:
if(currentLine.endsWith("GET /device1on"))
 {
 digitalWrite(0, HIGH);
 }
 else if(currentLine.endsWith("GET /device1off"))
 {
 digitalWrite(0, LOW);
 }
 else if(currentLine.endsWith("GET /device2on"))
 {
 digitalWrite(1, HIGH);
 }
 else if(currentLine.endsWith("GET /device2off"))
 {
 digitalWrite(1, LOW);
 }
 else if(currentLine.endsWith("GET /device3on"))
 {
 digitalWrite(2, HIGH);
 }
 else if(currentLine.endsWith("GET /device3off"))
 {
 digitalWrite(2, LOW);
 }
 else if(currentLine.endsWith("GET /device4on"))
 {
 digitalWrite(3, HIGH);
 }
 else if(currentLine.endsWith("GET /device4off"))
 {
 digitalWrite(3, LOW);
 }
 else
 {
 Serial.println("Invalid");
 }
Finally, download the code, paste it on the Arduino software (IDE), and upload it on the Arduino MKR 1000 board to finish programming.
5. Test Your Home Automation System
You can test if your home automation system is working once you’ve finished programming it. After uploading the code to the Arduino board, open the serial monitor, and it’ll display your device’s IP address.
Then, using a web browser on your smartphone, enter your system’s IP address, and an Arduino webpage will appear. If this happens, your home automation system is now ready for use. You can control your appliances from there and edit the code as you will.
You can also visit the Arduino Projects Hub page to browse more appealing projects that use other Arduino boards.
Parting Shot
Currently, you don’t have to be at home to control certain electronic devices, including fans, room heaters, and security cameras. Arduino has made it easy to monitor and control home appliances wherever you are, making life convenient and easy.