There are many reasons you may want to automate an existing light switch. For example, you may want to save money on power by setting a schedule for the light. Though reasons vary, automating an existing light switch is fairly simple.
Here’s how you can automate an existing light switch:
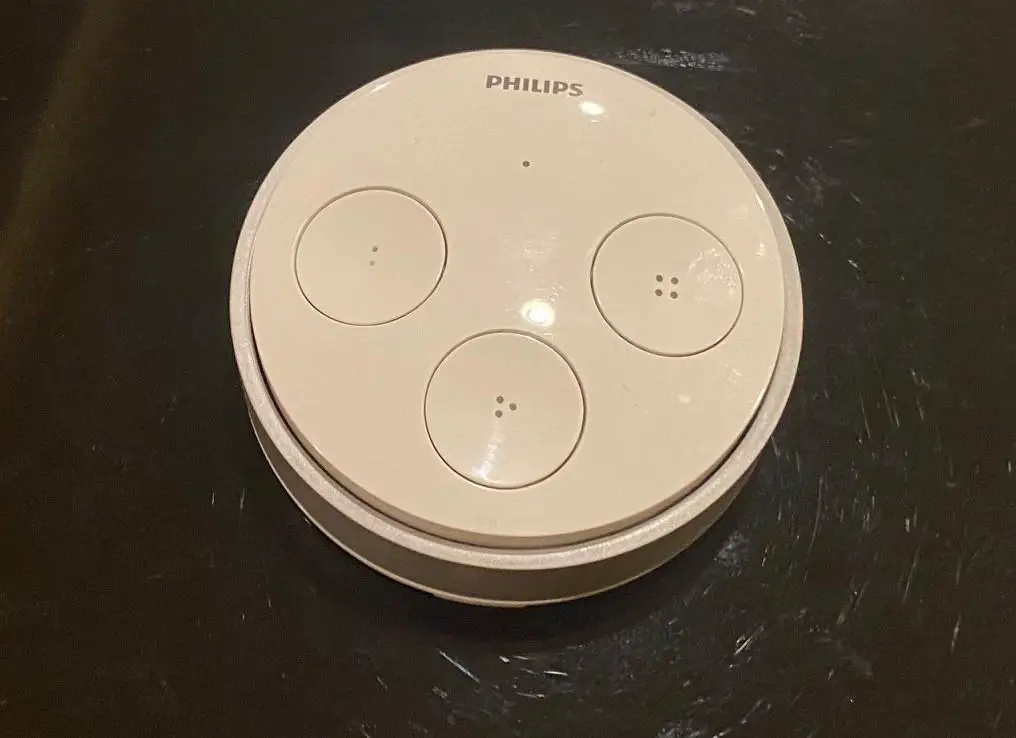
- Install a “smart” switch or bulb.
- Install a wireless relay.
Both your skill level and your budget will determine which method you use, but automating an existing light switch provides many benefits and is easier than you may think. Read on to learn how.
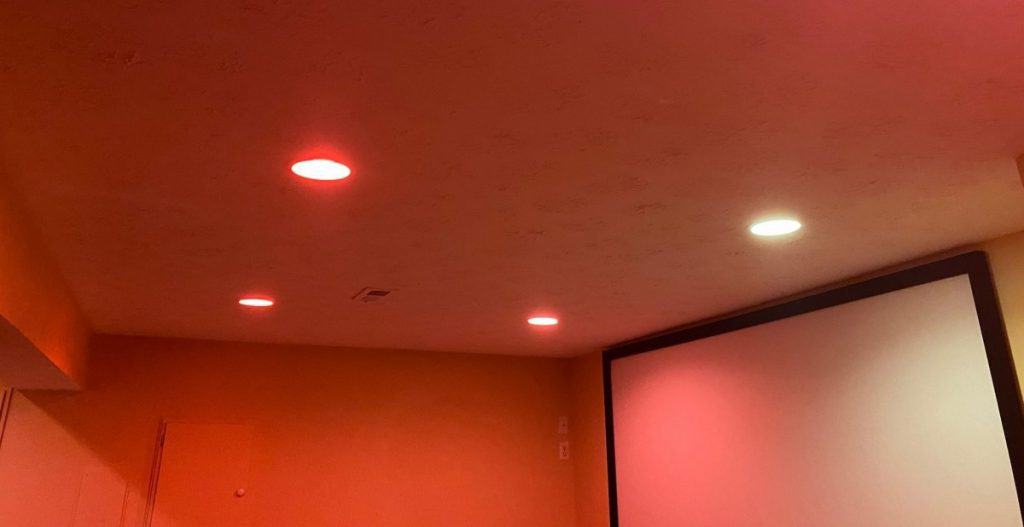
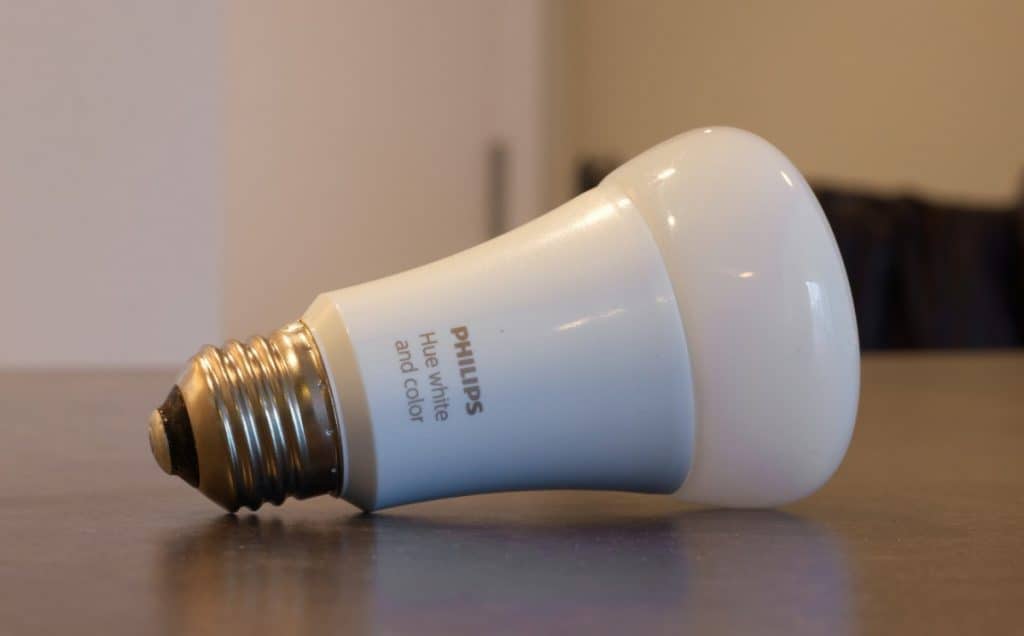
1. Install a “Smart” Switch or Bulb
The easiest method of converting light switches from manual to automated is by installing a “smart” switch or bulb. This option can be expensive, however, as each switch or bulb must be replaced by its new, “smart” counterpart. Smart bulbs range from $15-$30 per bulb, and smart switches are in the $20-$60 range.
2. Install a Wireless Relay
If installing smart switches or bulbs is out of your budget range, there’s a more affordable option. By installing wireless relays instead of all new switches, you can automate existing light switching.
Installation may vary depending on the specific brand and model of wireless relay used. Before installing, be sure to check the manual for any product-specific instructions.
A switch we recommend is the Shelly 1PM Relay Switch, which is available on Amazon.com. We like it because it comes with energy consumption monitoring, overload, and temperature protection.
There are many wireless relay switches available, but once you’ve determined the best one for your home, you’ll need to install it, so we’ve provided some basic instructions below.
Installing a Wireless Relay
Though it’s relatively easy to install a wireless relay switch, it’s important to take the proper precautions to avoid mistakes and injury.
Kill the Lights
Before doing any kind of electrical work, it’s important to take proper safety precautions, so make sure that the power is off. Not only does this step reduce the risk of electrocution, but it also eliminates the problem of blown fuses.
So, the first step is to turn off the breaker for the circuit where you’re automating your switches, and be sure to test that it’s turned off before commencing work.
Remove the Switch
Using either a drill or screwdriver, remove the desired switch from the wall. When you’re removing the switch, make sure not to disconnect the black wire, and keep track of which wires bring power in from the breaker and which wires put power out to the lighting fixture.
Typically, wires communicating with the breaker, or “line side” wires, are black-coated and found on the bottom. Lines communicating with the light, called “load side” wire, are white-coated and are located on top.
Connect the Wireless Relay
The most difficult element of installing a wireless relay is making sure the lines from the power supply and those going to the light fixture are properly connected to the relay. Most relays will have labeled ports to help with the installation. These labels are:
- Port marked “N” is the neutral line from the box.
- Port marked “L” also comes from the box, but this line is hot rather than neutral.
- Port marked “SW” connects to the existing light switch.
- Port marked “I” is for the relay side.
- Port marked “O” is the output for the same relay side.
If you want to be able to control your lights both from your phone and with the wall switch, the relay must be properly connected to the SW port.
Not all wireless relays have this option, but the Shelly 1 and a variety of other products allows the light to be controlled by the physical switch and the wireless relay. Keeping this in mind, the next step is to connect the wireless relay to your circuit system.
Connect a few inches of neutral wire to the bundle, remembering that neutral wires are white-coated. The newly added wire is then connected to the relay’s neutral (N) port.
Once the neutral port is connected, move on to the line (L) port. Using a wire nut, bundle together the black-coated wire plugged into the bottom side of the switch with three short lengths of black wire. Here are the steps:
- Connect one of these to the line (L) port. Be careful: remember this line is hot.
- The second of the new segments should connect to the relay (I) port.
- The third length of wire should connect to the port provided on the switch. If there’s no port available on the switch, the third wire can be connected to the switch’s lower-side screw.
- Once this is done, it’s time to remove the wire from the existing light switch. When cutting the wire, ensure that there are a few inches of excess hanging from the switch. Remember that the wire to be cut is the load-side wire, which will be black-coated.
- Strip the wire of its coating and connect to the wireless relay’s switch (SW) port.
- Once you’ve done all these, the last wiring step is to connect the line communicating with the actual light fixture to the wireless relay’s output (O)
Test the Lights and Set Up Your Automated Light Switch
Once the wireless relay is properly connected to the elements of the light switch circuit, shut the box and test the lights. Once the circuit breaker is back on, the wireless relay should be ready for action.
Once all the hardware is installed, all that’s left is to set up your automated light switch with the various manners of controlling it. Most wireless relays will communicate with Alexa, Echo, and most other common voice assistants.
Some relays may require users to download a specific app which can be used to remotely dim, brighten, turn on, and switch off smart lights. The details of setting up a connection between the wireless relay and your voice assistant, app, or smart home automation system will depend on the specific details of the program.
Conclusion
With a little effort and the right tools, you can automate existing light switches with relative ease.
Using smart switches and bulbs offer a simpler way to automate light switches, but this ease comes at a higher price. Therefore, if you can safely manage a DIY project, installing your own wireless relays is an affordable way to accomplish your goal.
The least expensive way to automate existing light switches is to install a wireless relay; however, if you’re an inexperienced home-electrician, be sure to seek out tutorials and follow all safety instructions when installing any kind of smart switch technology.