Alexa, Amazon’s voice service and a virtual assistant, can carry out a variety of tasks, including controlling electronics, making calls, and setting reminders. If you set it up correctly, you can control lights in separate rooms using Alexa.
Here’s how you can control lights in separate rooms with Alexa:
- Purchase an Amazon Echo.
- Purchase smart lights or switches.
- Name each light.
- Set up light groups on the Alexa app.
- Allocate each of the smart lights to a light group.
- Issue voice commands to Alexa to control the lights.
This article will detail the steps you need to take to control lights in separate rooms. By following them, you’ll be able to control lights all through your space without needing to take a step.
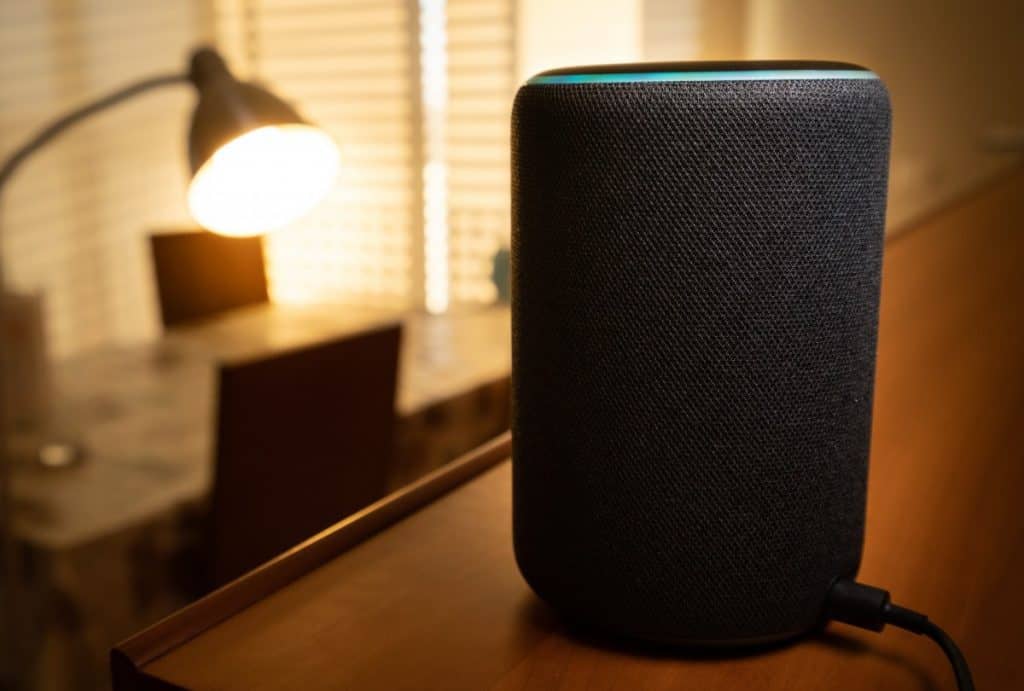
1. Purchase an Amazon Echo
The Amazon Echo is the physical hardware that houses Alexa. There are several types of Amazon Echo devices on the market; some of the best are the Amazon Echo (4th Gen) and the Amazon Echo Show 8 (2nd Gen).
The Amazon Echo (4th Gen), which is available on Amazon.com, has powerful speakers, a temperature sensor, and the sensitivity to pick up commands from a distance away.
Meanwhile, the Amazon Echo Show 8, also available on Amazon.com, has excellent versatility. Along with the Amazon Echo 4th Gen’s features, it also has a touch screen and built-in camera. This allows you to use it for monitoring an area, displaying photos, and even watching movies.
2. Purchase Smart Lights or Switches
If you want to control lights with Alexa, it’s best to have smart lights or smart switches. These are easy to connect to Alexa, making them equally easier to control. Here are some smart lights that are compatible with Alexa:
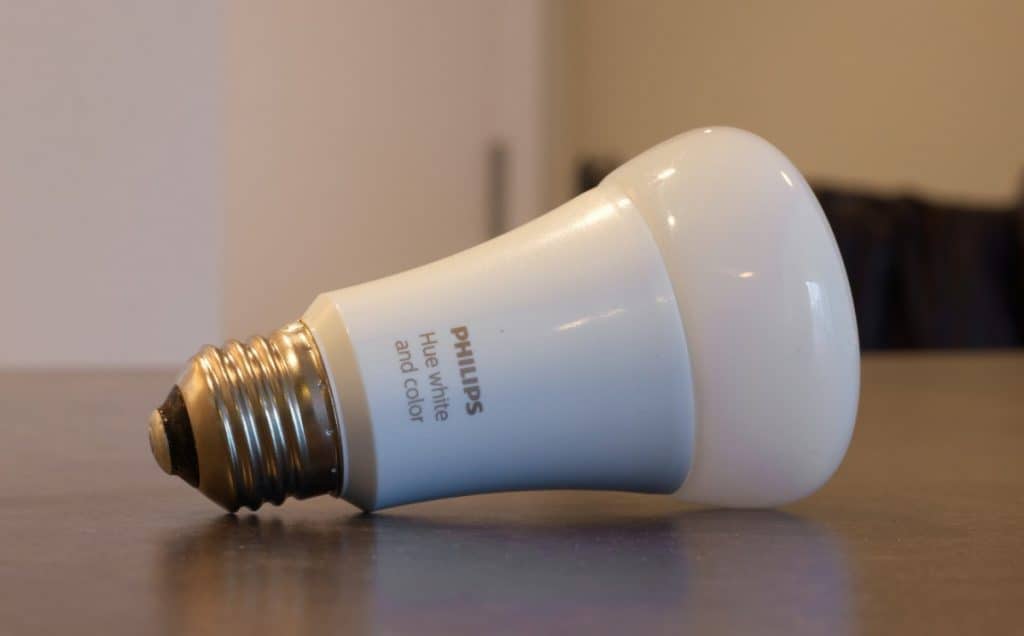
- Philips Hue
- Tuya
- LIFX
- Jimbo
- Sengled
- eWeLink
- Zengge
The Philips Hue Smart Bundle from Amazon.com is a great starter pack of smart light bulbs. It contains two light bulbs with the capacity to change their brightness as well as the light settings. The light bulbs can last for up to 2500 hours.
Another excellent starter pack is this four-pack of Sengled Smart Light Bulbs on Amazon.com. These offer excellent value for your money. They can change color and also have dimming and brightening functions.
3. Name Each Light
Once you’ve installed your smart light bulbs, you’ll need to connect them to your Alexa App. Assign each of the lights you’ve installed a name. The name you choose should be easy for you to remember, so you don’t have to refer to your app each time you want to control light.
For instance, instead of naming the lights in your kitchen ‘Kitchen 1,’ ‘Kitchen 2,’ and ‘Kitchen 3,’ you may name the lights’ Kitchen main,’ ‘Kitchen Lamp,’ and ‘Kitchen store.’
Here’s how to name the lights in your Alexa App:
- Open the Alexa app and open the menu.
- Click on add device.
- Select the light option.
- Choose the type of brand your smart bulb is.
- This will bring up a list of lights that are operating under that brand.
- Name the lights as you install them.
4. Set Up Light Groups on the Alexa App
Once you’ve assigned each light a name, you should set up light groups in the Alexa app. Here’s a step by step guide to setting up light groups:
- Open the Alexa App.
- Click on Devices.
- Click on the Ádd a Group option (this may be at the top or the bottom of your screen).
- Create a custom name for your group.
5. Allocate Each of the Smart Lights to a Light Group
Once you’ve set up light groups, you’ll get the option to choose which lights to allocate to a group. Select the lights and other electronics you want to go into each group. As well as setting up light groups by room, you can also set up light groups by type of light (for instance, you can group together all of the main lights).
6. Issue Voice Commands to Alexa To Control the Lights
Once everything is set up, you should say commands like “Alexa, turn the living room on” to switch on electronics in the living room. You can issue this command to any Amazon Echo in any room.
In some instances, you may want to control the lights in different rooms at the same time. To do this, simply assign all the lights you want to control into a group on Alexa.
For example, you may want all the main lights to go off at a particular time at night. Assign all the lights you want to go off in a single group and then issue the command related to that group. So, if you’ve named the group ‘main lights,’ you may say, “Alexa, turn off main lights.”
What Light Commands Can You Give Alexa?
Depending on the type of light bulbs you have, you can command them to do a wide range of things. These include:
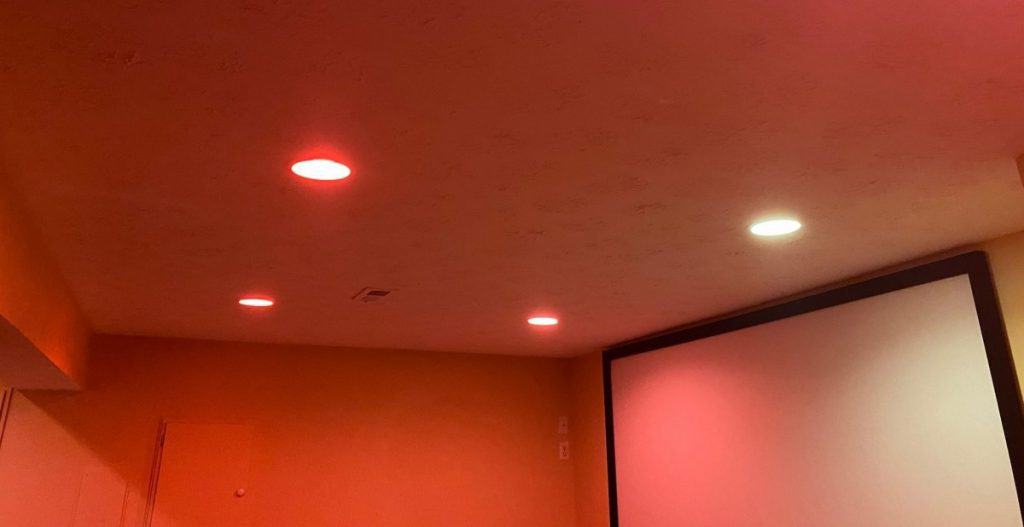
- Dimming and brightening the lights
- Changing the color of the light
- Changing the intensity of the light
You can also set up your group of lights to automatically turn on or off at particular times. In the Alexa App menu, you’ll find an option called ‘routines.’ You can use a voice command to trigger a routine.
For instance, if you say “Alexa turn off main lights,” you can set up a routine to start with the kitchen light followed by the living room lights ten minutes later.
All these commands can be set up through the Alexa App on your phone or smart device. Some of the newer editions of the Alexa App will also let you add in more voice commands and link them to specific light functions.
Final Thoughts
Controlling lights in separate rooms with Alexa is easy if you have the right equipment. With an Echo, smart bulbs, and the Alexa App, you can set up light groups for different rooms in your home.
You then simply have to give instructions to Alexa about a specific light group to control the lights in separate rooms.