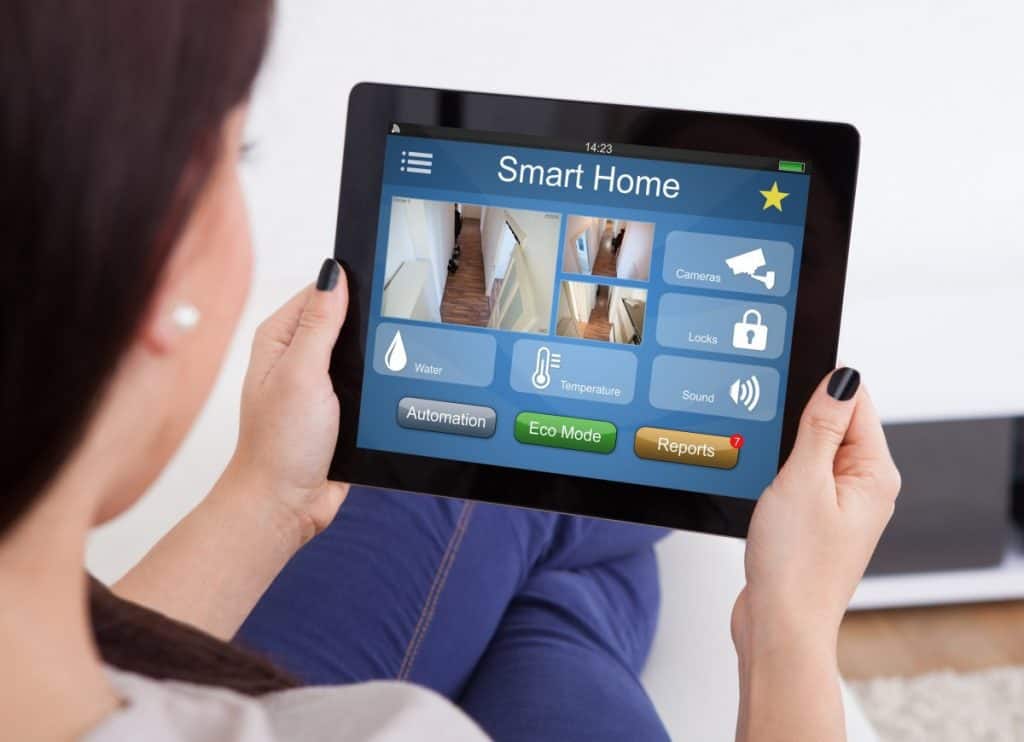
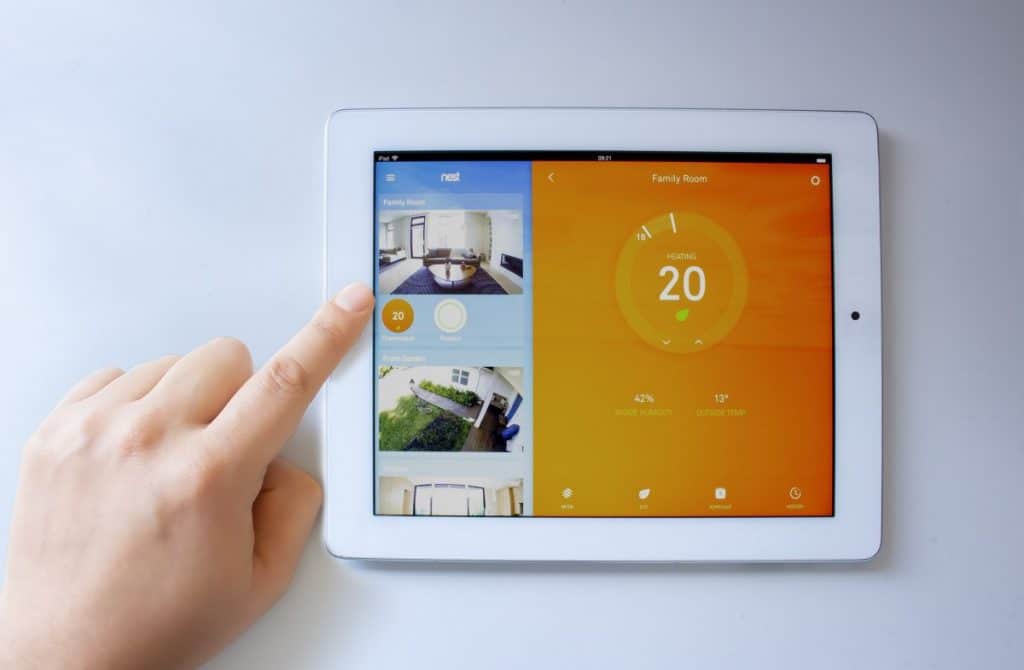
Turning your home into a smart home with a few handy little gadgets is fun. Having to pay about $50-100 for a hub, not so much. But did you know that you can repurpose your old iPad for home automation?
Here’s how you can use your iPad for home automation:
- Download and install the Apple Home app.
- Set the iPad as a home hub in the settings.
- Connect all your smart devices to the iPad.
- Mount the iPad in a suitable location.
- Create scenes and automation on the iPad.
Let’s now go through all the steps in more detail. By reading this article, you’ll learn how to use your iPad to create new automation. I’ll also touch on some of the benefits you get from using the iPad as a smart hub.

1. Download and Install the Apple Home App
Virtually every smart home ecosystem has a ‘Home’ app, and Apple is no exception to this.
I assume that you already have the app downloaded and installed because you need it for HomeKit gadgets.
If not, that’s the first thing you should do.
Download and install the app from the App Store. Go through the installation process to set it up, and you’re good to go.
The Home app is pretty good for home automation when you use the iPad as a hub, as it lets you combine all your gadgets into one app.
You can use the app on your phone too. You can set up multiple devices, so it’s perfect for a large family.
But what if I told you that there’s a better app for advanced users?
Home+
The default Home app has more or less everything you need. However, it lacks a few features that we’d love to see.
Also, the landscape mode doesn’t look very attractive, and you can’t customize it much.
The Home+ app is a paid app, though, but it’s well worth the cost for tech enthusiasts. You can get it from the App Store, just like the Home app.
The app works with all HomeKit accessories and Apple devices, and you can even use your Apple Watch with it.
But we’re here for the advanced automation, as it gives you more control over the default app regarding what you can do with your smart gadgets.
2. Set the iPad as a Home Hub in the Settings
We now come to the part where you turn the old tablet into a brand-new home hub. And it’s very good at being a home hub.
In fact, I’d say it’s miles better than some tiny smart speaker because it has a large screen. And you can always use it as a normal tablet.
Apple explains on its official website how to set the iPad as a home hub. Here are the steps:
- Go to Settings > Your username > iCloud.
- Log into iCloud using the same account that you use for all HomeKit gadgets.
- Switch Home on if it wasn’t already.
- Go to Settings > Home.
- Switch on ‘Use this iPad as a Home Hub.’
Congratulations! You can officially call your old iPad a smart hub now.
If you’re having trouble with this step, try restarting the iPad. Also, make sure you installed the latest update.
A lot of people forget about this because they stopped using their iPad a long time ago. But you need the latest iOS version. Otherwise, it might not work.
You should connect the iPad to the same WiFi as your HomeKit devices. Also, try logging out and back in on the iCloud.
Note that using the iPad as a home hub restricts it to home use. It should always stay connected to your home WiFi.
And if you don’t want to think about the battery, leave it plugged in.

3. Connect All Your Smart Devices to the iPad
We can’t automate something that isn’t even connected, so you must pair all your HomeKit devices to the iPad through the Home app.
Note that you can only use devices with HomeKit support.
If a gadget doesn’t have HomeKit, you can flash Homebridge to a Raspberry Pi (on Amazon). Then you can use Homebridge to connect any device to the iPad.
You can connect a HomeKit device through the Home app, and any device you add through your phone will also show up on the iPad.
Here are the steps on how you can add a new accessory to the Home app:
- Open the Home app.
- Tap the ‘Add Accessory’ button.
- Scan the HomeKit/QR code through the camera. It’s usually on the back or bottom of the device. If not, look at the device manual.
- Press on the accessory when it shows up on your screen.
- Give the gadget a name and room.
- Press ‘Next,’ then ‘Done.’
Do this for all of your gadgets, and you’re ready for the next step.
But just to stay on this subject a little longer, you should organize your gadgets. Add all of your rooms to the app, and put each accessory where it belongs. This will help you with home automation. And you’ll know what sensor and LED light you’re modifying.
Here’s a YouTube video by Shane Whatley that’ll help you with the setup:
4. Mount the iPad in a Suitable Location
The main benefit of the iPad as a home hub is its large screen. You can use the iPad as a regular tablet with home automation as another feature.
Or you can make automation its primary focus and use it as a fixed or semi-portable device.
The choice is yours. But I’d wall-mount it because it looks so good.
More specifically, I’d mount it in a kitchen where it can double as a handy recipe book.
If you want to mount your iPad, here are some of the best ways to do it:
Wall Mount
There’s something about a wall-mounted iPad that just makes it look so cool. To me, it resembles a futuristic gadget from Black Mirror.
You can use a complete enclosure, and the iPad will sit flush against the wall. However, I don’t recommend it.
It takes a lot of effort and drilling to wire the lightning or USB Type-C cable. Otherwise, you’d have to pop the iPad out every time you want to charge it.
And that’s the exact opposite of home automation.
Instead, get the elago Tablet Wall Mount (available on Amazon.com). It’s a minimalist wall mount made of silicone, so it’ll look good without scratching your wall.

Tablet Floor Stand
If wall mounting doesn’t appeal to you, a floor stand might do. It allows for extra mobility, so moving the iPad around the home is easy.
You can also use a floor stand to watch videos or read something effortlessly. If you ever wanted to have the iPad in front of you without the need to hold it, a floor stand is perfect.
But using it for a home hub iPad is the best, and I’d put it in the living room where everyone can access it.
I recommend the Viozon Tablet Floor Stand (available on Amazon.com). It’s a sturdy stand made of CNC machined metal, so it looks amazing too. You can adjust the height from 8.5 inches (21.59 cm) to 43.7 inches (111 cm).
Drill Base Mount
If the only thing you dislike about a wall-mounted iPad is that you can’t move it at all, get a drill base mount.
As the name suggests, it requires drilling to mount. But it’s pretty much set it and forget it.
The cool thing about drill base mounts is that you can rotate and adjust the height of the iPad. So it’s a perfect mount for a home hub.
The best drill base mount has to be the iBOLT Drill Base Mount (available on Amazon.com). It’s a heavy-duty mount that fits any 7 to 10 inches (17.78 to 25.4 cm) tablet. And the dual ball joint gives you a lot of flexibility.
Gooseneck Table Mount
If a table, desk, or other similar surface is your only option, it’s still better than nothing at all. It’s more convenient than having to look for the iPad or having to hold it in your hands.
A gooseneck holder is the most flexible option. You’ll have no problem mounting the iPad anywhere, and height isn’t an issue either because you can extend the gooseneck.
The Lamicall Gooseneck Tablet Holder (available on Amazon.com) is a good model. The clamp is easy to mount on any surface, and it’ll hold the iPad in place.
5. Create Scenes and Automation on the iPad
We’ve finally reached the most important part. And it’s also the most difficult because you’ll be creating home automation.
Apple actually differentiates Scenes and Automations. Both work with HomeKit devices, but in a slightly different way.
I’d argue that scenes are a type of automation. A scene lets you control multiple devices at the same time.
For example, you can create a movie scene. When you tell Siri that it’s movie time, the lights turn off, the LED strip behind the TV becomes red, and the TV turns on automatically.
That’s pretty cool because it saves time. And it’ll impress your friends for sure.
Automation, on the other hand, is an action that gets triggered when something happens. Think of motion sensors turning lights on or off automatically as you walk in and out of the room.
Let’s now talk about how to create scenes and automation.

Creating Scenes
Creating a scene on your iPad is simple. The most difficult part is actually deciding what you want to do with your accessories, so being creative is key.
Here are the steps on how to create a scene in the Home app:
- Open the Home app, go to the sidebar, press the plus sign, and choose ‘Add Scene.’
- Go to ‘Custom,’ and give the scene a name.
- Press ‘Add Accessories.’
- Choose all accessories you need to create the scene. The first device determines what room you’re making the scene in.
- Change the settings on each HomeKit device to tell it what to do in this scene.
- Run the scene to test it.
Once you make a scene, it’ll always be there, ready for your next tap.
Creating Automations
Making new scenes was pretty easy, right? Automation will be a bit harder, but it’s unlimited regarding what you can do with it.
That’s why Apple gives you the option of using preconfigured automations. They’re useful to get you started, but custom automations are way better.
Here are the steps on how you create a new automation on the iPad:
- Open the Home app, and tap on the plus sign.
- Choose ‘Automation.’
- Select which trigger you want to use. For example, use ‘A sensor detects something’ for automatic lights or for an alarm.
- Follow the instructions that the Home app displays.
The Home app will guide you through the process, but it’s fairly easy to set up multiple HomeKit devices in an automation.
The most difficult part is coming up with clever automations that’ll make your life easier.
For example, you can make your thermostat change the temperature when your iPhone gets near your home. You’ll never walk into a freezing cold house again.
Benefits of Using an iPad for Home Automation
If you still believe that a HomePod will do a better job than your old iPad, let me change that.
The iPad is the perfect device to control your HomeKit setup. It has a large screen that lets you see everything you want to, and the size helps it with movies and videos too.
Here are some benefits of using your old iPad for home automation:
- The HomePod’s voice won’t always do the job of telling you everything you want to know.
- You can monitor all gadgets at a glance.
- Seeing what’s playing and controlling music is very easy on an iPad.
- You can check your indoor and outdoor cameras on the iPad instead of your iPhone.
- A wall-mounted iPad looks great.
- Guests can use the iPad to control gadgets and set scenes.
- It’s the perfect device for children.
Final Thoughts
Using an iPad for home automation is very easy. It’s the best home hub for an Apple HomeKit setup, and the large screen lets you create scenes, set automations, and monitor everything.
You control all your smart gadgets through the Home app on your iPad. And the device also doubles as a cool music controller for wireless speakers.
