Smart appliances are convenient and can make life more streamlined. Suppose you’re one of the 70+ million Americans who cannot start the day without a caffeinated beverage. In that case, you can combine an electric kettle with an in-wall smart plug, and your tea or coffee is ready to pour as soon as you get out of bed.
Use a smart plug with an electric kettle by following these instructions:
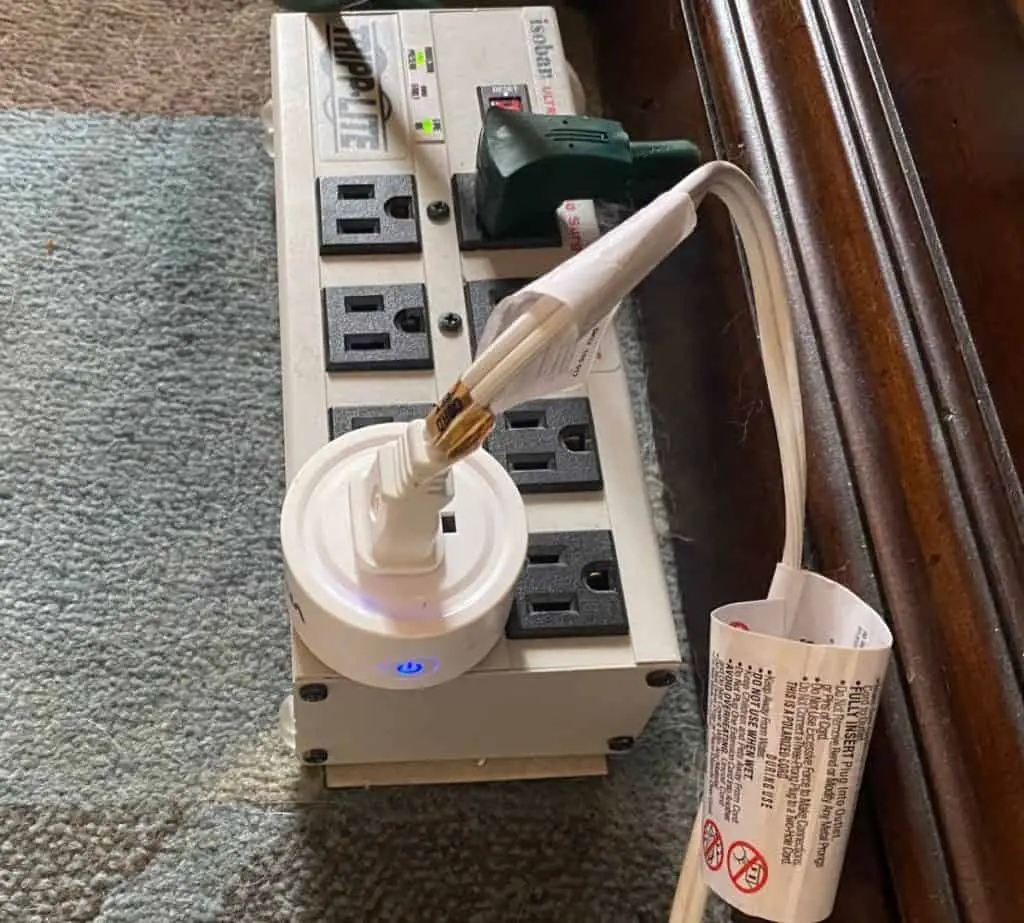
- Plug your smart plug into an electrical outlet.
- Download the app and set up the smart plug.
- Plug your electric kettle into the smart plug.
- Prepare your electric kettle.
- Set up routines or schedules.
In this article, we’ll explain the benefits of using smart plugs with electric kettles, how to connect these two devices, and program schedules, as well as some safety tips. Keep reading to learn more.
Using Smart Plugs with Electric Kettles: The Benefits
Electric kettles are both safe and convenient, making them an ideal appliance for use with smart plugs. Smart plugs allow you to control the device with an app or through voice commands using a virtual assistant, such as Google Assistant or Alexa.
An electric kettle plugged into a smart plug effectively becomes a smart appliance.
From there, you can use the smart plug and the app in conjunction to set schedules or to power on the kettle remotely—before you even get out of bed. By the time you’re ready to get up, the water is nice and warm, ready for your coffee or tea.
In addition to powering the electrical kettle remotely from a phone or virtual assistant, you can set the appliance on a schedule. That means that you can have the kettle start heating your water at a specific time—as soon as your alarm goes off in the morning. That way, you don’t have to worry about remembering to remotely turn it on; the work is already done.
How To Use an Electric Kettle With a Smart Plug
Setting up an electric kettle with a smart plug is a fairly simple and straightforward process. However, different manufacturers have their own instructions. Check your smart plug’s manual for the specifics.
1. Plug Your Smart Plug Into an Electrical Outlet
Before plugging the smart plugin, ensure that it is the correct model for your country of residence. Some third-party manufacturers create smart plugs for specific countries, so it’s important to check the specifications before purchasing.
Once the smart plug is connected to the wall outlet, look for an indicator light or power button. Some have an LED to indicate connectivity, whereas others have a manual power button to turn the plug on and off.
2. Download The App and Set Up The Smart Plug
Once you’ve plugged in your smart plug, you’ll need to download the designated app. For Amazon Smart Plugs, you’ll need the Alexa app. Kasa smart plugs require the Kasa app. See your smart plug’s manual to figure out which app to download.
Apps allow you to link the device with your account, connect the smart plug to the network, and control devices once they’re set up. Most smart plugs use WiFi or Bluetooth technology to connect to smartphones. WiFi, however, is the industry leader, but other wireless connection protocols—including Zigbee and Z-Wave—are used by some third-party manufacturers.
After downloading the app, create or sign into your account, connect to the network, and then add the device:
- Select “Add a Device” (sometimes it looks like the “+” symbol).
- Choose the type of device you want to add—in this case, “smart plug.”
- Follow the instructions to add the device.
- Name the device (use something like “Electric Kettle” or “Coffee/Tea”).
The instructions may be slightly different depending on which brand you’re using. Be sure to check your manual for specifics.
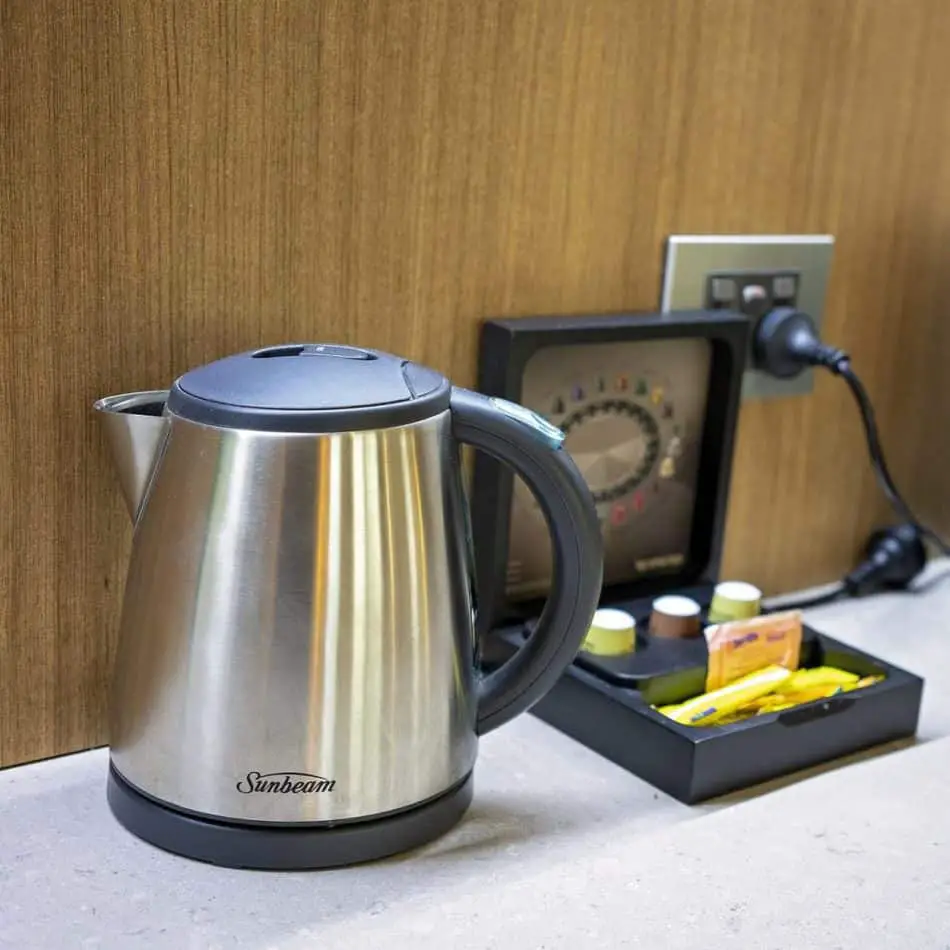
3. Plug Your Kettle Into Your Smart Plug
Check to make sure that the smart plug is rated to supply the amount of current the electric kettle requires. This is not typically an issue if the smart plug and kettle were purchased in the same country.
After you’ve determined that the devices are compatible, plug the kettle into the smart plug. Turn the kettle on and look for the indicator light. If there is no indicator light or you do not see signs that the kettle is on, check the app to ensure the smart plug is correctly set up. If the smart plug is connected to an outlet with a power switch, ensure that the power switch is in the “On” position.
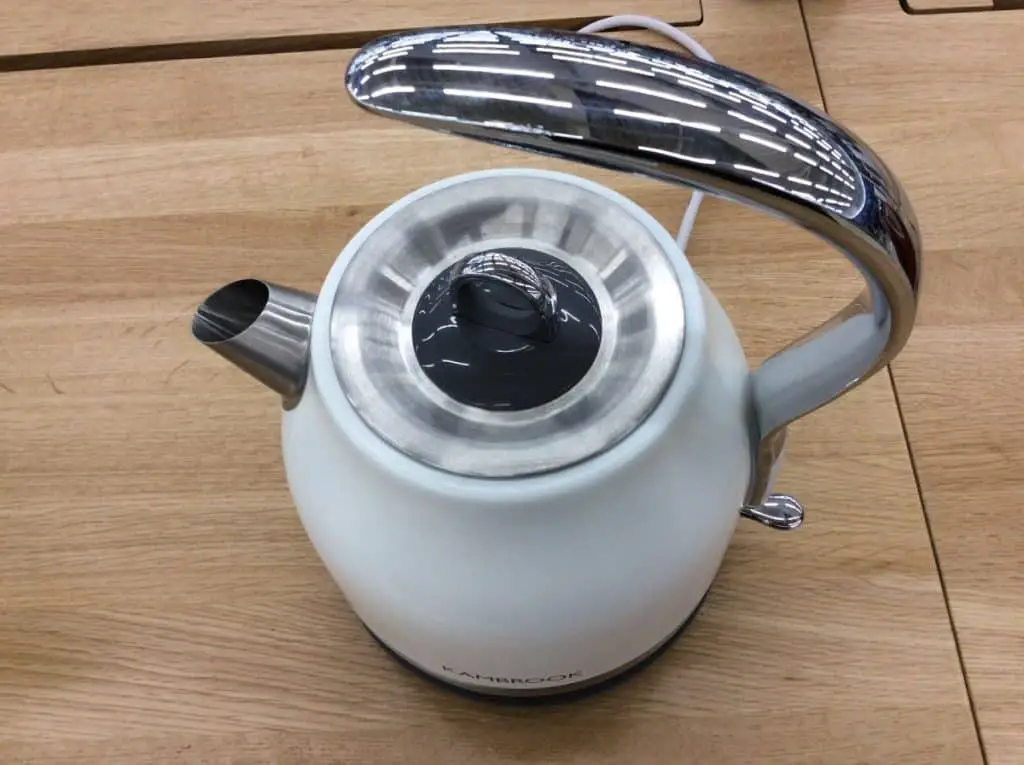
4. Prepare Your Electric Kettle
Before using your kettle, you’ll want to make sure that it’s clean. Wash the kettle with a mild dish detergent and warm water. Rinse well. Allow the kettle to dry.
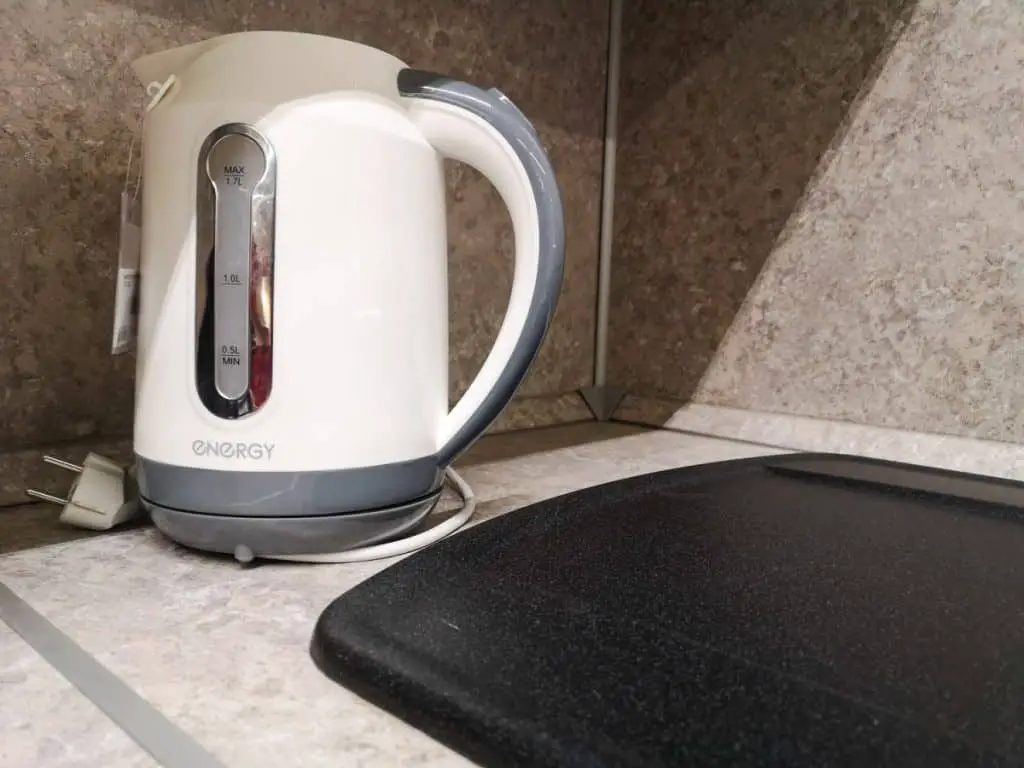
Fill the kettle with the desired amount of water. Most commercially available electric kettles have lines denoting how much water to use. Do not overfill the kettle, as the water expands once heated. Boiling water can leak or splash onto the surrounding countertop, potentially causing damage or injury.
5. Set Up Routines or Schedules
Once the kettle is filled, you should come up with a rough estimate of how long the water will take to heat. Although it will vary slightly depending on your local water quality, altitude above sea level, and the model of kettle you use, it will take between 4 to 5 minutes to boil four cups (roughly one liter) of water.
This information will help you automate the electric kettle to prepare your heated water whenever you need it.
To do this, you’ll need to set up schedules or routines within the app. Most apps allow you to set schedules by clicking on the named smart plug in the app and selecting “Schedules,” “Timers,” or “Routines.” It varies by manufacturer.
With Alexa, for example, you select “More” at the bottom of the app and then choose “Routines.” You can create your own routine and select the smart plug you wish to use.
Kasa has a similar setup. Just open the app and click the green power button. Select “Timer” and then choose the device you want to set a timer for. You can use a countdown timer or specific times and days. For example, if you want your electric kettle to turn on automatically in the morning on weekdays before you even get out of bed, you just need to fill the kettle at night, and then set a time and day for the device to turn on.
For other brands, check the specific instructions in the manual.
Is It Safe To Leave Boiled Water in a Kettle Overnight?
It is not safe to leave already-boiled water in a kettle overnight. While it’s unlikely that the water is enough to harm a human, it can be harmful to the kettle. The minerals within the water become more concentrated, which could leave a hard film in the appliance.
Limescale is often rock hard, and removing it requires the use of strong descaling agents. The more often water is left standing in your kettle, the faster limescale will build-up, and the sooner your kettle will have to be descaled.
As for the quality of the water, conventional wisdom in tea drinking has long said that you should not drink water that has been boiled multiple times. This is usually due to a taste preference as opposed to health concerns. With that said, it’s best to wash and refill your electric kettle with fresh water every night.
Final Thoughts
Home automation continues to improve our lives, making our routines more convenient. Electric kettles and smart plugs mean that you can have your boiled water ready when you need it, whether you start your morning with tea, coffee, or warm oatmeal.