Home automation is the rave of the moment as more people automate everyday devices to make them easier to use and inherently more fun. The home theater is no different. You can now come home to your favorite music already playing or your home theater getting into movie mode without you lifting a finger.
To automate your home theater setup, here are the steps to take:
- Buy smart home theater devices.
- Connect smart devices in Alexa, Google Home, or HomeKit app.
- Set scenes and routines in your chosen app.
- Keep the home theater devices connected.
In the rest of the article, I’ll go into these steps in more detail. I’ll also discuss the benefits you get from automating your home theater system.
1. Buy Smart Home Theater Devices
The first step to automating your home theater is to have the right devices installed. Individual preferences will vary here, but some of the most common fixtures include the following (all products from Amazon.com):
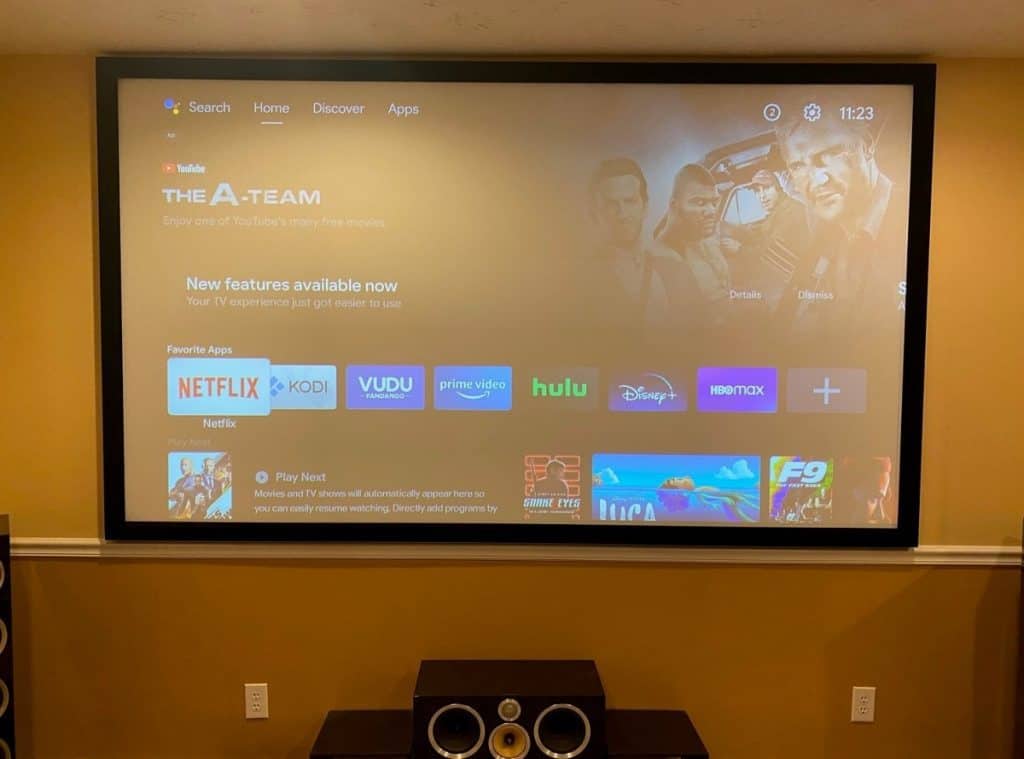
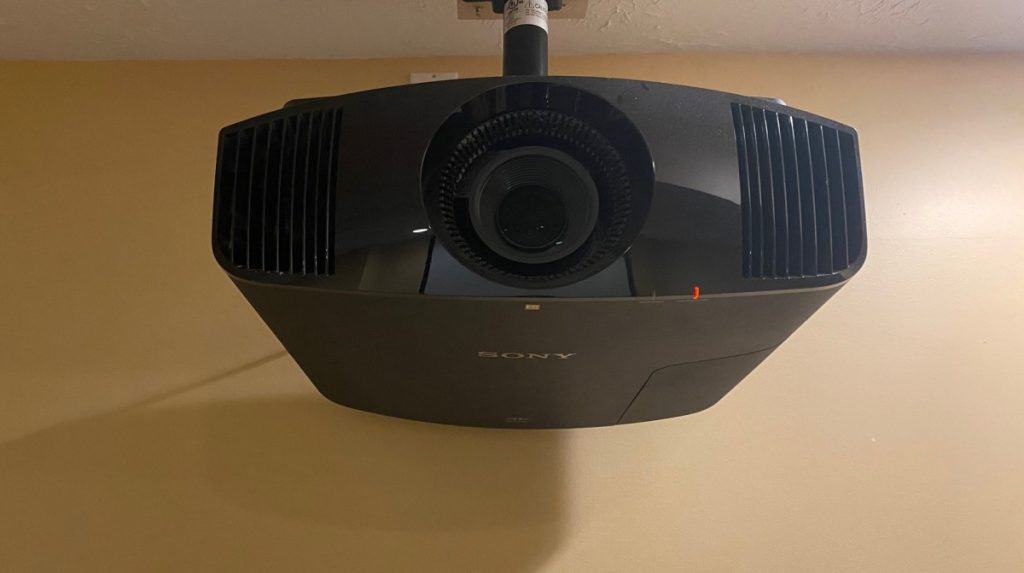
Smart Projector and Projector Screen
For most people, the first device in any smart home theater is a projector. There are many smart options in the market today. A model like the CWEUG 1080p Projector, available on Amazon, provides affordable high-definition viewing with the brightness reaching up to 7,200 lumens.
You get all the connectivity options you’d expect from a smart projector, including Wi-Fi, Bluetooth, and 5G connectivity.
As you weigh your options for a projector to buy, don’t forget to go for a matching projector screen. When buying one of these, the main focus is a projector screen size that works for your home theater. Never choose an option that will be too small or too big.
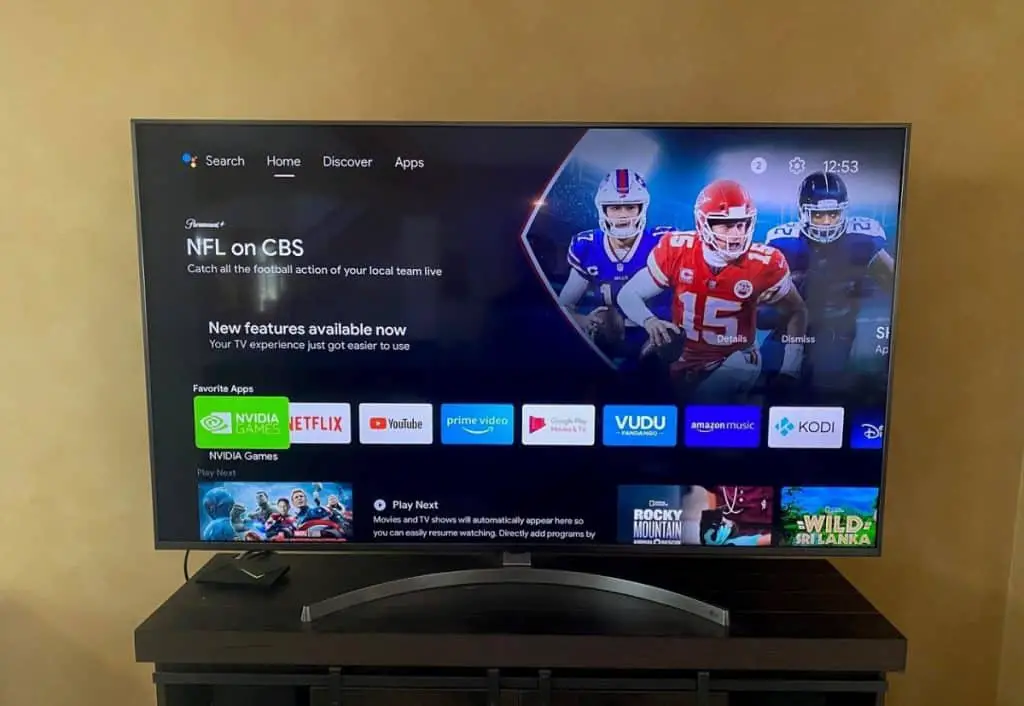
Smart TV
If you have a small home theater, you can skip a smart projector and go with a smart TV instead. There are so many models to choose from as these have been around for a while now.
As with the projector screen, you have to choose a TV size that matches your space.
The TCL 75-inch 5-Series Smart TV (on Amazon.com) is perfect for most medium-sized spaces. It has Alexa baked into the software, making it a good option for an automated home theater. A smart TV ensures you won’t need to spend money on a Fire Stick or other streaming devices as most apps are already pre-installed (or can be installed) on the TV.
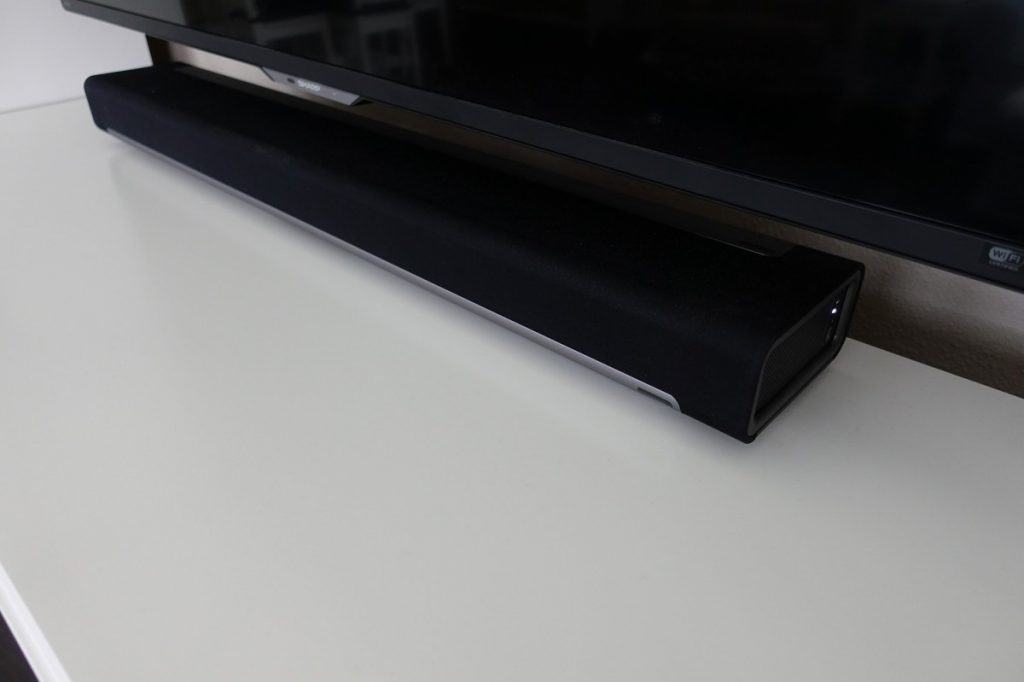
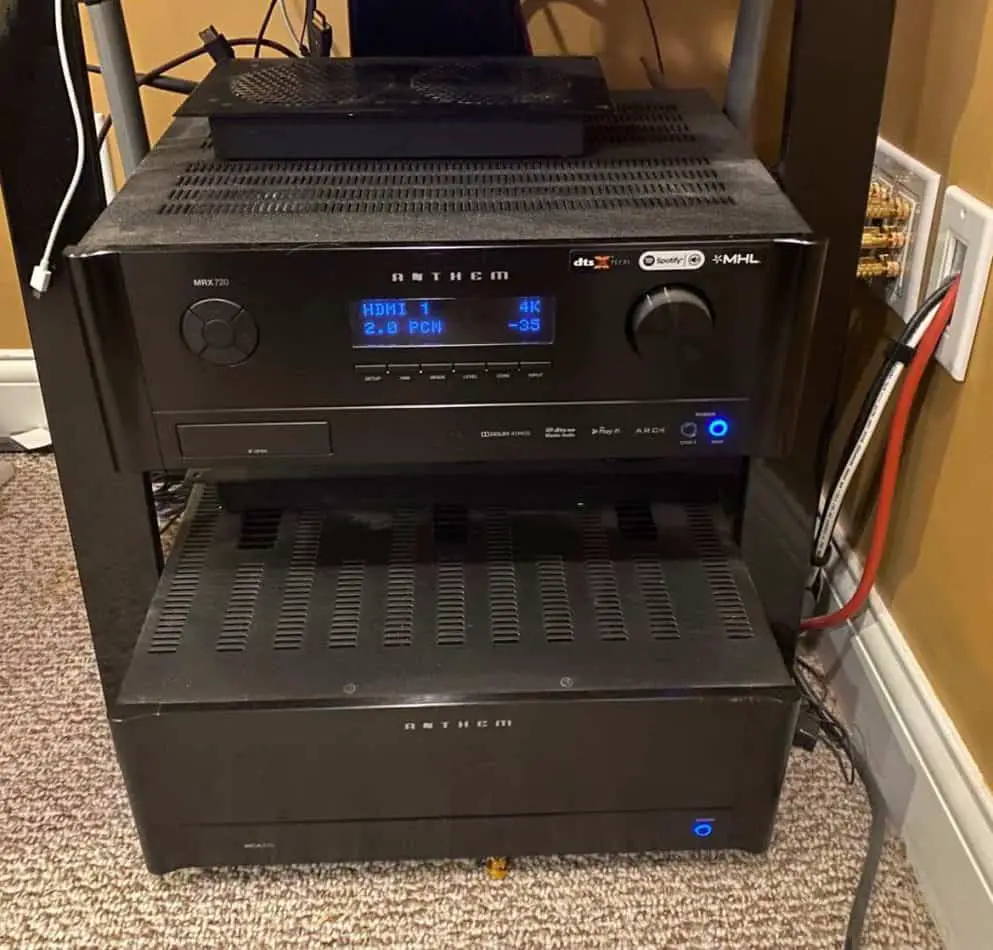
Smart Sound Systems
Your home theater is incomplete without a powerful sound system that fits the space. There are lots of smart sound systems available today, offering you deeply enthralling sounds and endless automation possibilities.
Soundbars marketed as smart systems like the VIZIO 36” Sound Bar and Wireless Subwoofer (on Amazon.com) are popular. They come with Wi-Fi and Bluetooth functionality, allowing you to add them to your home theater automation set up easily.
Others like the Enclave CineHome II Home Theater (on Amazon.com) offer even more powerful sound but only offer Bluetooth connectivity. Still, with the right accessories, you can also automate it.
Smart Speakers
You’ll need Alexa, Google Assistant, or Siri when automating your home theater. These assistants are designed to communicate with all your smart devices, executing commands as you call them out.
For example, Amazon’s Echo Show 8 bundled with the Blink Mini Camera (on Amazon) is a popular option. Even if you don’t want to use voice commands, you can control your devices from the screen.
However, you don’t have to use a dedicated smart speaker to control your devices. A cheap android tablet running Google Assistant or an old iPad running the HomeKit app can do the job.
You should decide your preferred channel for controlling your automated home theater first before buying devices. It will help you avoid buying incompatible devices.
General Accessories
In this category, think about every other small accessory you’ll need to make your home theater experience more enjoyable. Some items you should consider include:
- Smart switches and sockets. These are perfect for converting your conventional devices to smart devices you can control.
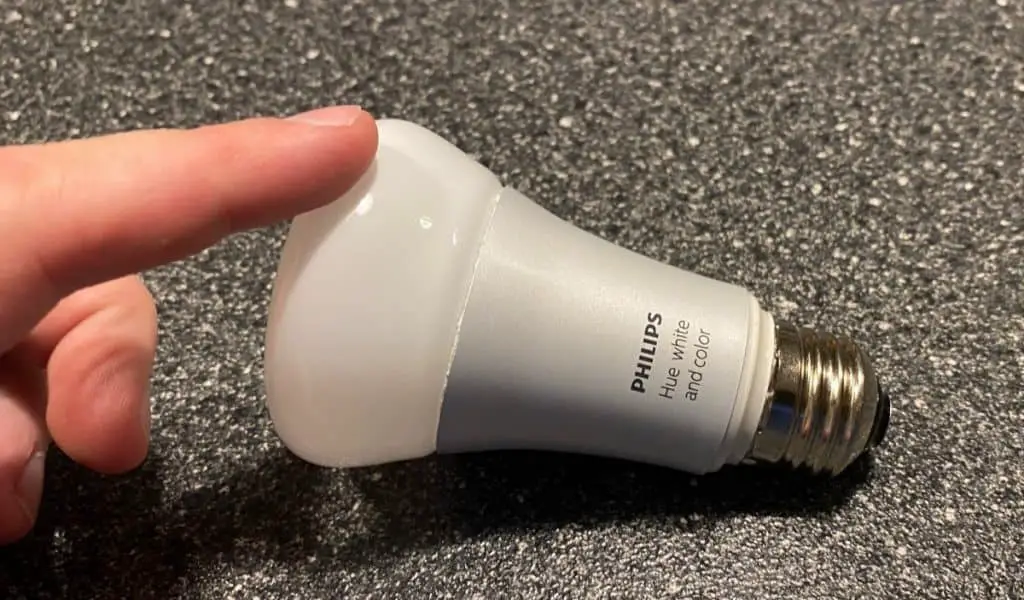
- Smart light bulbs and light strips. There are a ton of options you can choose from today. Go over a few to install strategically in your home theater space. Do you love those star-like ceiling lights in some cinemas? You can buy the smart options for your home. With smart lights, you can enjoy automated dimming, switching on/off, color shade changes, etc.
- Smart Cameras. Do you want to keep an eye on your children upstairs? Do you want to keep monitoring your front door? Smart cameras integrated into your home theater automation will help. You can also throw in smart locks to make sure you never leave your chair if you don’t want to.
2. Connect Smart Devices in Alexa, Google Home, or HomeKit App
With your smart home theater devices sorted, it’s time to connect them all.
As mentioned above, you’ll need one of Alexa, Google Home, or the HomeKit app to integrate all your devices. Of course, some smart devices have their own unique apps, but wouldn’t you rather control everything in one window than install 50 different apps?
Connecting your devices is as simple as:
- Turning them on,
- Making sure they are connected to Wi-Fi (or has Bluetooth turned on), and
- Scanning for them in your Alexa, Google Home, or HomeKit app.
Some of the devices (like the smart TV and light bulbs) will be picked up automatically as soon as they come on. For others, you have to manually add them.
Adding a device is as simple as looking around the app menu to find the “Add Device” function. Here’s a post from Google on how to do this on Google Home.
For Alexa and the HomeKit app, click this PC Mag article and this Tech Solutions article, respectively.
You should complete the setup process seamlessly if you’ve chosen compatible devices and there are no connection-related problems.
3. Set Scenes and Routines in Your Chosen App
The bulk of automation is setting scenes and routines. With the right scene or routine, you can dim the lights, close the blinds and turn on decorative ceiling lights at the click of a button.
You can even access a deeper layer of control by choosing what color lights should come on for a specific scene, the volume of your smart speaker, and more. You can also set a scene that wakes you up with a specific playlist each morning.
To set scenes and routines on Alexa, this article on Tom’s Guide and this one on Android Central will guide you. You can learn how to set routines for the Google Home app by reading this article on Trusted Reviews. And you can read how to create scenes on HomeKit directly from Apple.
All three apps have slightly different steps for the process, but generally, you’ll need to do all or some of the following:
- Click on “Add Scene” or “Add Routine” in the main menu.
- Choose a pre-installed scene or create a properly named custom scene.
- Add all the accessories relevant to the scene you’d like to create.
- Go into the settings of each accessory and ensure they are set to the actions you want.
- Test the scene or routine.
- Click “Save” or “Done” to complete the process.
With scenes and routines completed, you can enjoy more hands-free control of your home theater system.
Remember, you don’t have to set up scenes and routines when automating your home theater setup. You can manually control the system from the app interface on your smartphone or from your smart speaker screen. That’s also the option to go with if you want to maintain some layer of flexibility.
For example, you may want the “Movie” scene with the drawn blinds and dimmed lights but without music or video playing on the screen.
4. Keep the Home Theater Devices Connected
Your home theater automation only works if every device is connected to the network. Whether your network is based on the Z-wave or Zigbee protocol, Bluetooth, or standard Wi-Fi connection, you have to ensure everything is connected all the time.
For this, you’ll need a Smart Home Hub, which acts like a meeting point or a bridge for all your smart devices. The approach many people adopt here is to get a designated tablet to run Samsung Smart Hub, Google Home, or HomeKit.
The tablet serves as the hub. It has to be switched on and connected to Wi-Fi at all times to communicate with your smart devices. Alternatively, you can get the Amazon Echo which works the same way.
If you have many smart devices, each running on different protocols, you can go with a specialty smart home hub like the Wink Hub 2. With it, you can keep your automated home theater working at all times and also connect a plethora of other smart devices.
The smart hub is compatible with multiple protocols, including:
- Bluetooth Low Energy
- Lutron Clear Connect
- Kidde (for smart smoke alarms)
- Wi-Fi
- Zigbee
- Z-wave
It also supports IFTTT applets and Alexa voice commands. You can rely on it to control smart devices from many manufacturers, including Ring, Philips Hue, Nest, Honeywell, etc.
If you’d like to use one of these, you can get a service person from their website or their Amazon page (if you live in a supported city). Remember, you’ll need to pay a small monthly subscription fee to use the Wink platform.
With the right smart hub setup, you can enjoy remote access to your home theater even when you’re far away from home.
Benefits of Automating Your Home Theater Setup
Below are a few reasons why you should automate your home theater setup:
Puts All Controls in One Place
A standard home theater setup means lugging a few remotes together at all times. You have to reach for the relevant remote to control any specific device. Also, you’ll need to get up to control the lights and window blinds in the room when necessary.
And when someone’s at the door? You’ll have to leave the room to go check if it’s your family friend or a pesky marketer. Sure, there’s nothing wrong with walking around a bit while seeing a movie, but it ruins the experience.
Home theater automation ensures you have everything you need to enjoy your viewing experience in your palms. With the right setup, you can turn down the volume, turn on/dim lights when you want, or see who’s at the door with a few taps on your smartphone.
Retains Control of Your System Remotely
From smart TVs to audio systems, many manufacturers now include security systems that allow you to limit access to your core home theater setup for certain users. From toddlers to teenagers, you can control who uses the system and at what time. But what happens when you forget to set your controls after a late-night session watching your favorite shows?
A properly automated smart home theater setup will allow you to control the system remotely from anywhere in the world. You can turn off devices you left on accidentally, turn on the system to play a certain track over Spotify as you drive home with your loved one, and much more.
Simplifies the Overall Home Theater Experience
Home theater automation simplifies the overall viewing experience by allowing you to complete minor actions easily. Automating the subtle interactions with your system and the home theater room can make your sessions more memorable.
You can set your lights to go dim as soon as the movie starts playing, leaving lights around the entrance a bit brighter for people coming in to find their way easily. You can also set the lights to come back on after the movie is done. These settings are possible thanks to “scenes.”
Final Thoughts
Automating a home theater setup is as simple as installing smart devices in your cinema room and controlling them from a central hub. There are many devices to choose from. So, take your time to go over what you need for your ideal home theater setup. Make a list, buy everything you need and install them.
If the automation process sounds like it’s beyond your scope, look for experienced, smart home automation businesses near you to discuss your needs.