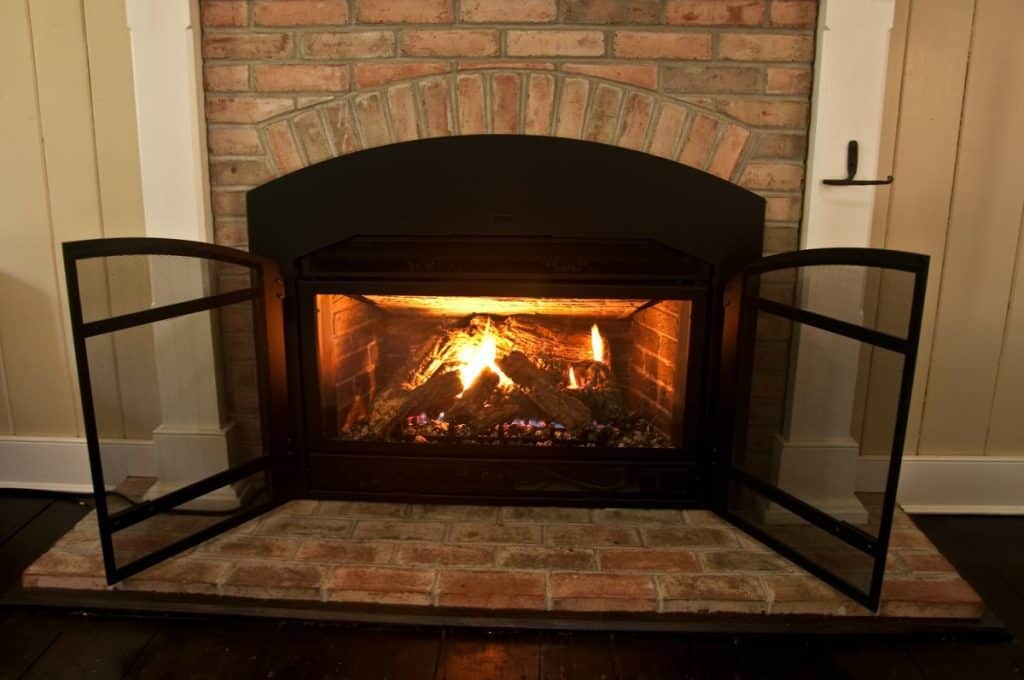
As technology advances our homes into being more convenient, a fireplace tends to be the last automated thing in our home. Luckily, there are methods you can use to automate your gas fireplace. Although, automating your fireplace requires specific knowledge to help avoid injuries.
To automate your gas fireplace:
- Connect the fireplace to low-voltage wiring.
- Connect the wires to the house current.
- Test the connection.
- Pair the device with your smart home device (if using).
- Test the voice commands.
Having an automated gas fireplace is exciting as you can control it with a few clicks of a button. With that said, it does take a bit of effort to install safely. But don’t worry, as I will give you a complete walkthrough on how to automate your gas fireplace safely.

What You Will Need To Automate
To automate your gas fireplace, you will need a few items depending on which method you choose to automate your fireplace. There are two main options for automation, either voice command or remote. We will give you a breakdown of both methods and what items you’ll need.
Here is a breakdown of the essential items you’d need to automate:
- Fireplace Automation Device (if using a remote)
- Smart Light Switch
- Wire Stripper with Cutter
- Philips Head Screwdriver
- Lamp Power Cord
How To Automate via Remote Control/Switch
Automating your gas fireplace seems like a simple task, but in reality, it does require a bit of extensive knowledge of wiring. If you’ve never worked with electrical wires before, you may want to get a professional to do this instead. Lousy wiring is not only risky but can also damage your home.
Throughout the rest of this article, we’ll do our best to walk you through the process as safely as possible. Here are the steps you’d need to take to automate your gas fireplace fully.
1. Connect to Low Voltage Wiring
First, you will need to locate the bottom panel of your fireplace and locate the wires that run to your wall switch. The cables should lead from your fireplace to your wall switch. Once you’ve found the cables, go ahead and disconnect your controller and circuits.
Take a wire cutter and cut the relay wires directly from the controller and the wall switch. Then, take the controller wires and connect them to the LOAD terminals on the relay wire. After that, connect the wires from the manual switch to the terminals with a ‘switch’ symbol on them.
If you’re a bit confused, the terminals on the relay will have markings for ‘L’ and ‘N’ and won’t be connected to anything. These are the 120V current that will need to be connected to in the next step.
2. Connect Wires to the House Current
For this step, you will need a power cord. From here, take the white wire from the power cord and connect it to the ‘N’ relay terminal. From there, you will also need to take the black wire and connect it to the ‘L’ relay terminal.
Now that the relays are connected, you will need to plug the wire into the outlet under the fireplace. The control should flash an LED light to show that it has been connected correctly. If not, then you may have to go back and rewire.
3. Test Your Connection
After you have all the wiring setup, you should use the fireplace using the lighting switch. Most smart light switches allow you to download an app and control the switch via your phone. Some also come with remote control devices.
Once you’ve connected the gas fireplace to the switch, you can turn it on and off via remote controls. Just test the switch to make sure it’s paired with the remote or device, and you’ll be ready to go.

Automate Remote Control via Voice Command
Automating your gas fireplace via voice is a bit different from a remote control. However, the steps are all the same ones that we’ve mentioned previously. The only difference is that you’d need to have both a remote control device, a hub for voice control, and a smart switch compatible with the hub.
A voice hub includes Siri, Alexa, or Google Assistant. These hubs are separate devices that you would have to invest in. However, the tricky part is finding a smart switch that is compatible with one of the hubs.
The only difference between a remote control switch and a voice control switch is that the smart switch will have the additional ability to pair with a voice hub. Once you have the switch installed, test the voice command.
Extra Safety Precautions
Working with gas and electricity is extremely dangerous if you’re not careful. The last thing you want to do is cause a fire or a gas leak. Listed below, we’ve created some considerations you should understand before you attempt to automate your fireplace:
Always Turn Off the Gas Valve
It’s crucial to shut off the gas valve to prevent an electrical fire. There should be a gas valve where you take off the front panel to the fireplace. If you can’t find the gas valve on the fireplace, you can alternatively shut the gas off to your home.
However, this method shuts off the gas to all of your major appliances that rely on gas. This means your heater, stove, etc. So, be sure to take note of this before you shut it off.
Always Shut Off the Electricity
To shut off the electricity to the fireplace, you’ll need to locate your house’s circuit breaker. The panel will either be outside or inside your home. You’ll need to find it and turn the electricity off to the room your fireplace is in by flipping a switch.
Once you do that, head back into the room and test the lights. If the lights turn on, then there is still electricity in the room. You’ll need to go back and locate the correct switch and make sure the electricity is off before starting.

Final Thoughts
With advancements in technology, we’ve begun automating everything in our home, from lights to appliances. While a fireplace isn’t typically first on our list of things to upgrade, having one automated and synced to your smart home is incredibly convenient.
Automating a gas fireplace requires some electrical knowledge and safety precautions to ensure that you stay safe. Once you get it connected, however, you’ll be able to enjoy your cozy fireplace without ever having to leave your sofa.
