Automating your appliances doesn’t just make your home a more convenient place to live in; it can also improve its energy efficiency. But as worthwhile as this DIY project may be, it’s not always a straightforward endeavor, especially when several appliances need automating.
Here’s 5 steps to help you with automating home appliances:
- Choose the right kind of appliances to automate.
- Choose an automation platform.
- Acquire the necessary automation supplies.
- Connect devices to the automation hub.
- Create routines and automations.
Read on for in-depth coverage of each step, suggestions on the specific products to purchase, and practical appliance automation examples to spark your creativity.
1. Choose the Right Kind of Appliances To Automate
The first step in automating home appliances is choosing what to automate. There are virtually endless possibilities in terms of what you can automate, from lights to music systems.
But some will work better than others.
Let’s look at some of the most commonly automated appliance categories to give you a few ideas:
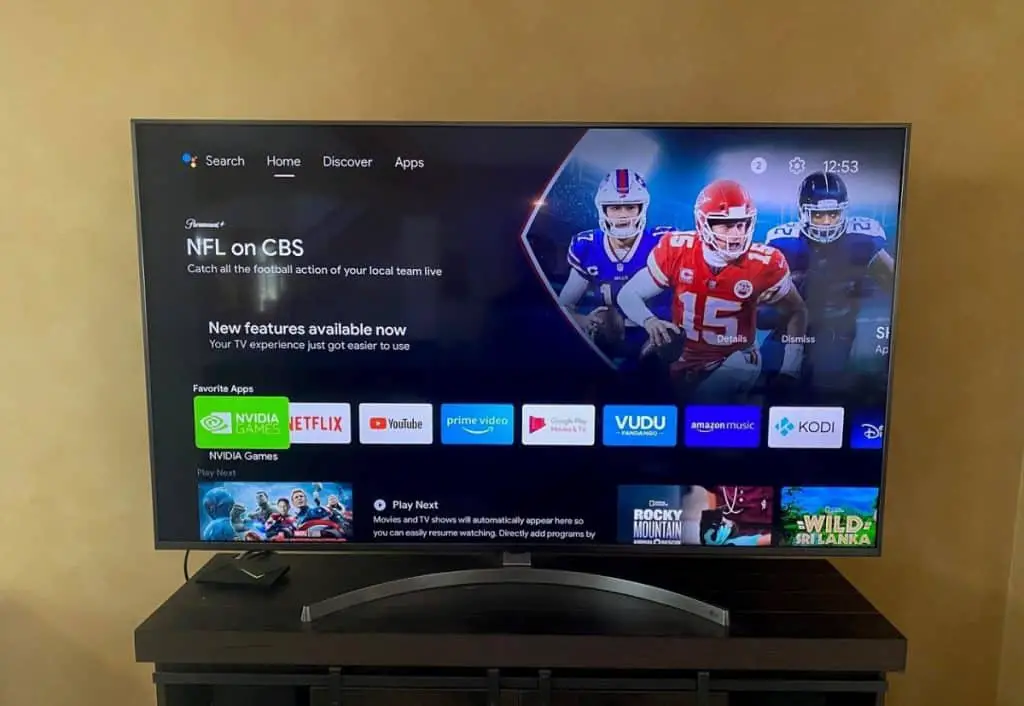
Entertainment Systems
Entertainment is one of the main motivations behind many DIY home automation endeavors. Some of the things you can achieve by automating your entertainment systems include:
- Setting up a centralized remote-control system that distributes music throughout your home.
- Installing in-wall speakers, surround sound, ceiling speakers, or subwoofers that you can control from your phone.
- Being able to control the volume of music in each room individually from a single platform.
- Setting up your TV to receive voice commands such that you can lower/raise the volume, change channels, switch from Netflix to Roku, etc., by saying certain words or phrases.
Communication Systems
Communication systems present another excellent opportunity to add convenience to your home through automation.
Here are a few functionalities you can add to your communications system through automation:
- Integrating your cell phone with your home landline phone.
- Answering the door from multiple telephones, including your cell phone.
- Creating an intercom system that allows you to communicate with other family members in various parts of your home.
- Transforming a traditional landline phone into a modern home telecommunication system.
Convenience Systems and Appliances
We can’t cover every appliance you can automate to improve your home’s convenience because there are so many options.
What we can do, however, is touch on some of the most common automation categories you can use to make living in your home a breeze.
These categories include:
Environmental Control
There are several aspects of environmental control, but the most common ones are temperature control and light control.
By automating your lights, you can control their brightness remotely or even schedule when they’ll come on.
Automated thermostats can set the temperature by occupancy, predetermined schedule, among other conveniences.
Drape Control
With this kind of automation, you can set your drapes to open and close automatically at a specific time. You can also use sensors to set them up open when the sun shines directly at a certain angle so you can enjoy those beautiful sunsets and sunrises without lifting a finger.
Remote control functionality is also possible and can be handy for those hard-to-reach spots.
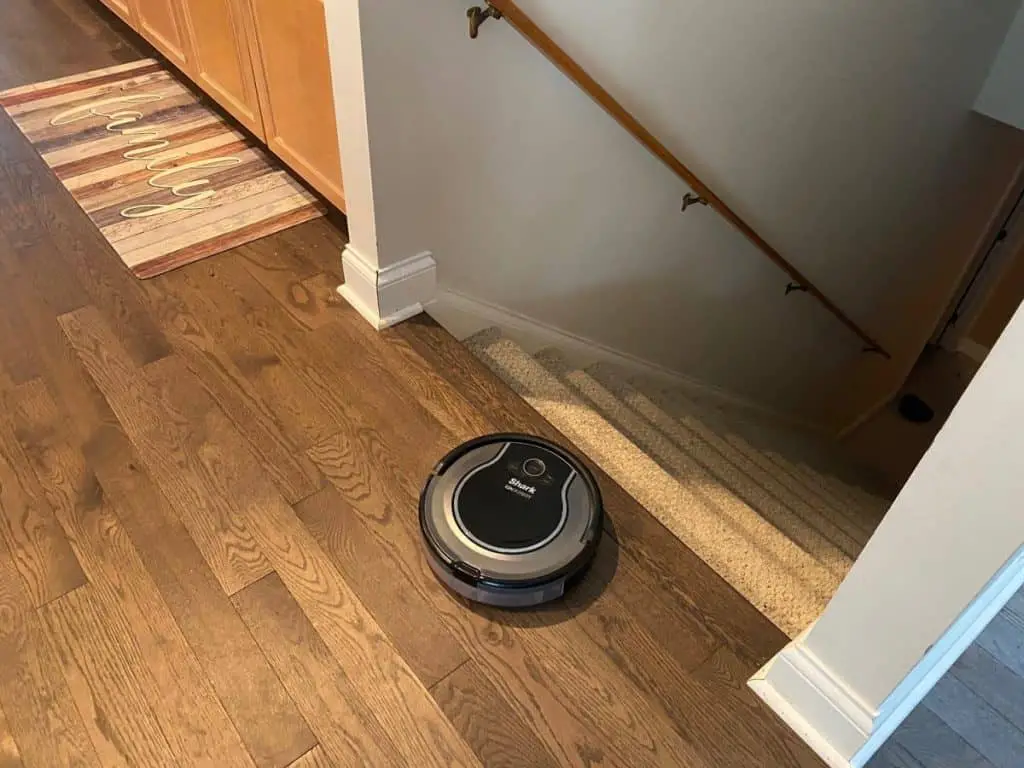
Vacuum Systems
A central vacuum system makes it possible to clean your entire house with minimal work.
Install a central vacuum motor in a convenient spot like your garage and run tubing in the walls.
The wall tubing will connect to wall inlets in every room. When you need to vacuum, you’ll need to plug a hose into the nearest wall inlet, and the central vacuum system will instantly start running.
Irrigation Systems
Keeping lawns watered can be a hassle for some of us. But with a smart irrigation system, you can program a schedule so that your sprinklers come on automatically at a specific time.
It’s also possible to set up a hose network in your flower beds and vegetable garden to keep everything adequately watered.
What To Keep In Mind When Choosing Appliances
As you can see, there are several appliances you can automate for various functionalities. And, what we’ve mentioned above are only a few examples.
To help you get specific with what to automate, here are some factors to consider:
- Cost. How many smart devices can you afford? Stay within your limits, keeping in mind that you’ll need to spend on more than just the gadget to achieve automation.
- Ease of installation. Since you’re taking the DIY route to automation, you might want to stay away from appliances requiring specialized setup skills.
- Your needs. Every homeowner leads a different lifestyle, and some of the smart devices you might have seen at your neighbor’s place might not be a necessity for you. Also, avoid permanent installations if you’re a renter.
2. Choose an Automation Platform
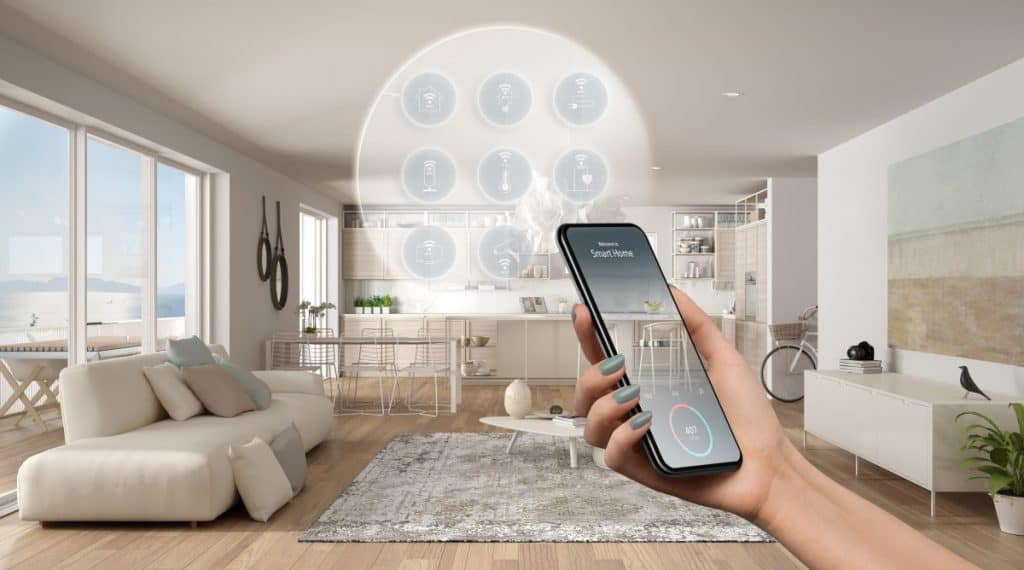
Once you figure out what needs automating, the next critical decision is choosing an automation ecosystem. Typically, this would be a hub.
A hub is the brain of the entire automation project. It allows you to connect your appliances to a single platform from which you can control each remotely (on your computer or smartphone) or via voice commands using the likes of Alexa, Siri, and Google Assistant.
A hub also allows you to set up automation rules, which can be handy when setting up light schedules.
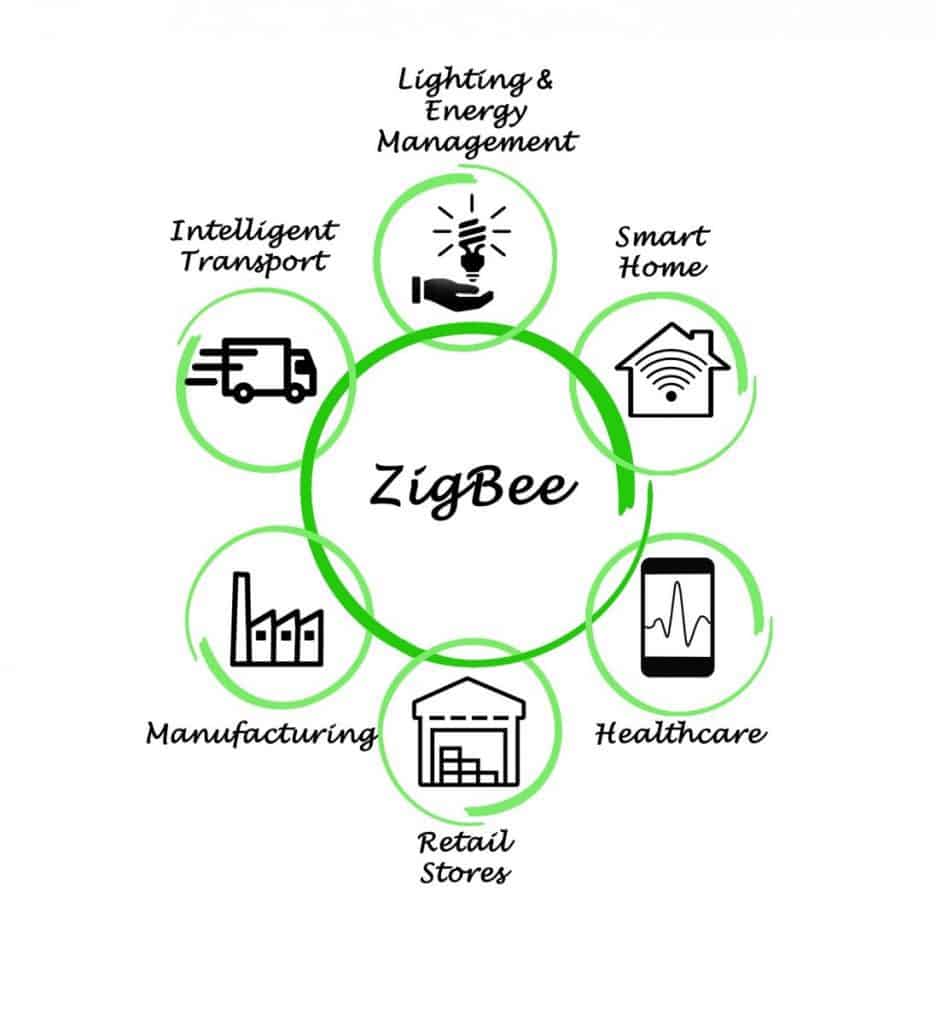
Home hubs come in the form of devices that can control appliances through Z-Wave and Zigbee protocols.
Amazon Echo vs. Samsung SmartThings
You have several options available on Amazon.com when shopping for one, but the 4th generation Amazon Echo and Third-generation SmartThings appeal to more homeowners than the rest, so you might want to give them a closer look.
Samsung SmartThings is the more expensive of the two, but it connects to more devices since it can work with Zigbee and Z-wave compatible end appliances. Additionally, it doesn’t bog down your home internet because Zigbee and Z-wave are independent connection protocols that don’t work off WiFi.
On the other hand, the Echo supports Amazon Sidewalk, a new power-efficient networking protocol with long-range connectivity that allows you to automate smart lights and tile trackers over longer distances. It’s also cheaper, but it only works with Zigbee-compatible end appliances.

3. Acquire the Necessary Automation Supplies
By “supplies,” I mean any item or product you need for appliance automation besides the hub. What you need to purchase primarily depends on the appliances you’re trying to automate.
For instance, if you’re looking to automate your home’s temperature control system, you’ll need to buy a smart thermostat.
Similarly, a homeowner looking to automate their door answering system may need to purchase a smart doorbell.
Point being? You need to purchase “smart” versions of the appliances you’re looking to automate. However, this isn’t always the case with lighting automation because there are several ways to go about it, and the necessary purchases vary with the automation method.
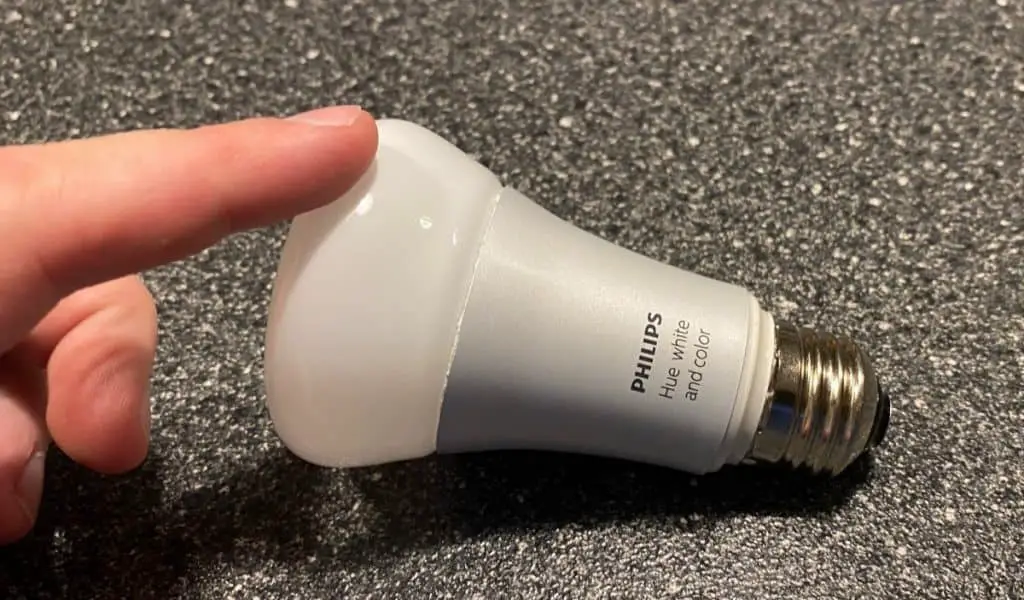
Lighting
When automating your home lighting system, you can either install smart plugs/smart switches or swap out your traditional bulbs for smart ones.
With the former approach, you’ll only need to buy smart switches/plugs. With the latter, your shopping list will only include smart bulbs.
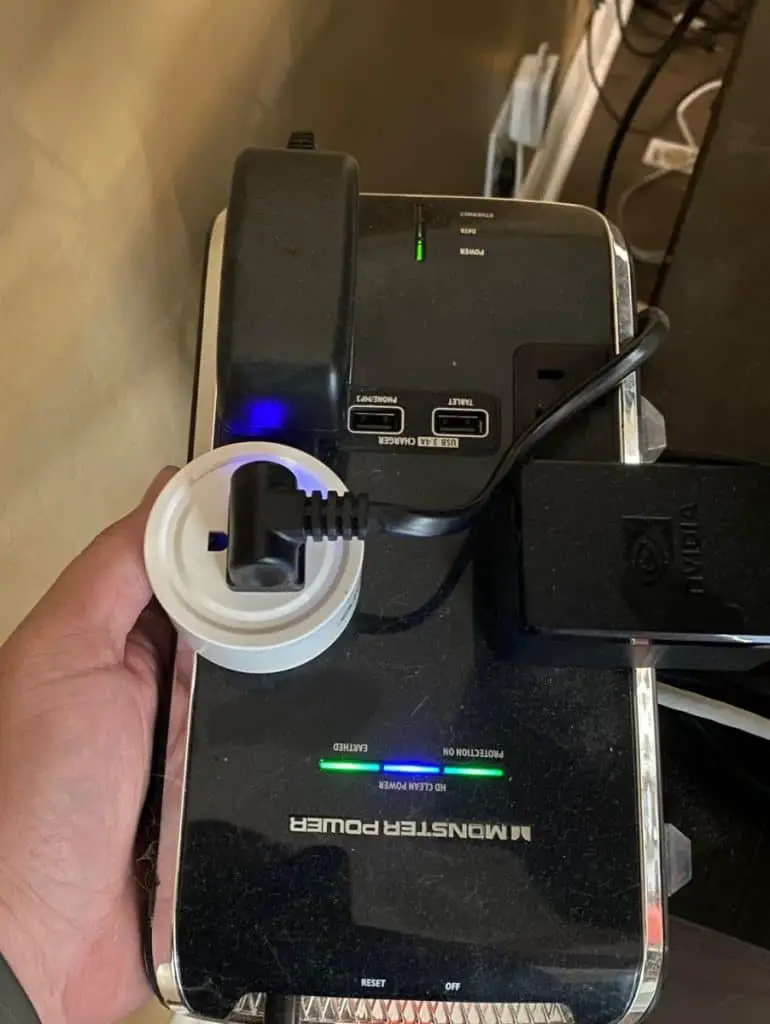
Smart Plugs
Using smart plugs may be a better option if you’re looking to automate more than just lights. That’s because you can use smart plugs to automate other appliances beyond just bulbs and lamps.
A smart plug plugs into a standard outlet and connects to your hub through WiFi, Zigbee, Z-waver, or Bluetooth. Once you plug it in, you can connect your lights and other electronic devices/appliances and instantly convert them into smart products that can be controlled remotely.
You can even schedule in advance when to turn on/off appliances and devices, monitor and control their power consumption, and set various automation rules.
So, by choosing to smarten the plug, you may eliminate the need for a “smart” version of the appliance you’re automating. This can be a money saver because most appliances are more expensive than plugs.
Motion Sensors
Last but not least, some appliance automation might require motion sensors.
For instance, you may need to purchase motion sensors to set up your lights to automatically turn on when walking up to your door or when you open a particular door to go outside at night.
Generally, you’ll need motion sensors if you’re automating for not just convenience and entertainment but also security.
Quick Tip: When buying your home automation supplies, ensure that they’re compatible with the kind of connectivity protocol used by your hub. For instance, if your hub uses Zigbee, you’ll want to choose Zigbee-compatible devices and appliances.
4. Connect Devices to the Automation Hub
Before you sync your appliances to your hub, you’ll need to install the hub first. This should be easy to do, especially since hubs typically come with installation instructions.
If you can’t find these for some reason, here’s a quick video how demonstrating how to go about it:
Once the hub is up and running, the next step is to connect the appliances you’re looking to automate. Here’s how to do that on the Third-generation SmartThings hub:
- Download and install the SmartThings app from your mobile device’s app store.
- Open the app and go to the Devices tab.
- Tap Home and select the desired location for your appliance.
- Tap the plus sign and select Add Device.
- Select Scan Nearby to initiate a search.
- If the appliance isn’t detected in step 5 above, add it manually by tapping By Device Type if it’s a Samsung product or by tapping By Brand if it’s a different brand.
- Complete the setup process by following the simple on-screen instructions that’ll appear at this point.
Important: With some Samsung products, you might need to press a button on the appliance to activate its smart functionalities and establish a connection.
5. Create Routines and Automations
Routines and automations serve as instructions for your smart appliances. It’s how you tell them what to do when you want them to.
And as much as many people think of routines as an element of automation, the two are pretty different.
Let’s discuss each type of instruction in greater detail to clear things up.
Routines
Also known as shortcuts or scenes, routines allow you to control different appliance functions with a single command. This eliminates the cumbersome process of keying in manual controls or issuing voice commands for different appliances.
Routines are particularly helpful when you want to control:
- Several settings on one appliance. For instance, let’s say you’re reading a book and want to set the mood with proper lighting. The settings you need to change here are your bulb color and brightness, and you can use routines to tackle both with a single command.
- Several settings on various appliances. For illustration, let’s assume you’re starting your home workout session and want to set the tone with your favorite workout songs, bright lights, and colder climate. To achieve this, you can set up routines to simultaneously play music on your intelligent music system, brighten the lights, and lower the temperature settings on your thermostat.
How to set up routines? Well, the process varies slightly with the app you’re using, but the general steps are as follows:
- Open the app and locate Create Routines, Routines, or anything else along those lines on the user interface.
- Choose the appliances you’d like to control with the routine.
- Enter the settings you’d like to activate with this particular routine.
- Assign a simple name to your routine, particularly if you’re looking to activate it via voice commands.
- Test the routine to see if it works.
Automations
Automations are based on a cause-effect framework. That’s, if A happens, appliance X automatically does B.
Automations are how you set up your appliances to react automatically to changes in your home environment. And while they’re slightly more challenging to set up than routines, automations are an indispensable tool in smartening home appliances.
The setup process for automations has two elements:
- Determining a “trigger action.”
- Specifying what a given appliance or a group of devices behave when that action occurs.
Here’s a table showing some of the most common ways homeowners use automations:
| Trigger Action | Automatic Response |
|---|---|
| Scheduled time of the day reaches | Effect certain settings on an appliance, such as turning on the coffee maker at 7am |
| An app/voice command is issued by an authorized party | Activate a specific routine, such as a bedtime routine for kids with lowering lights and soft music. |
| A change in appliance or system status | Adjust system mode, such as turning off a device completely. |
| A change in your physical location | Send a notification to your mobile device, such as alerts when you’re away on vacation. |
Understand that while automations and routines are different, they’re often used alongside each other in many home appliance automation endeavors.
Here’s Samsung’s video demonstration of how to set up automations for an air conditioner on the SmartThings app: Using Scenes and Automations in SmartThings.
Notice how scenes are part of the automation? You’ll want to do that with other appliances (not just your AC) where applicable to get the most out of your smart home.
Summing Up
That does it for today’s post. Hopefully, you now have a clear idea of the steps you need to take to automate your home appliances.
To recap, the process involves deciding what to automate, choosing a hub, acquiring the necessary supplies, adding your devices to the hub, and setting up routines and automations.